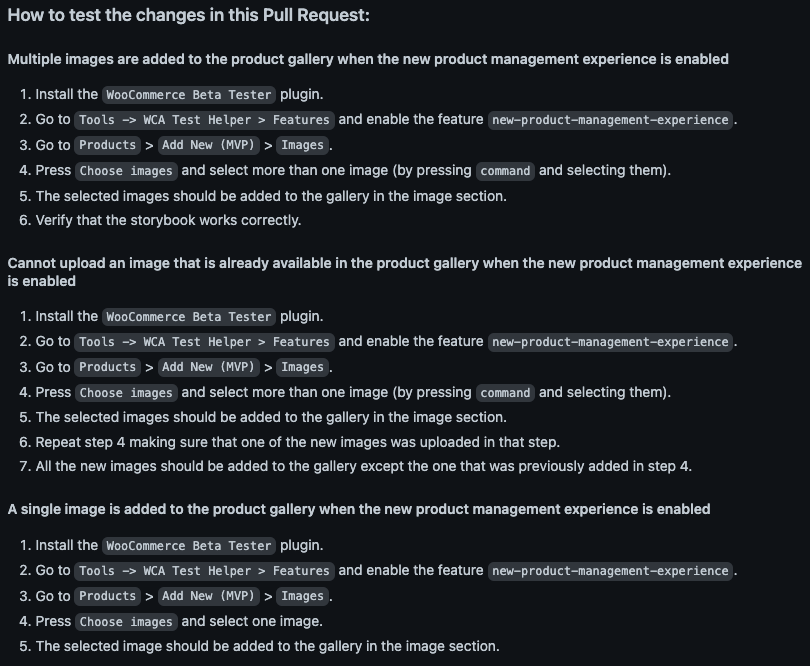
Having clear testing Instructions on pull requests is the first level of quality engineering in WooCommerce, which is key for testing early and minimizing the impact of unexpected effects in the upcoming versions of WooCommerce.
This page contains the following sections:
- [What is a test?](#what-is-a-test)
- [What to cover with the testing instructions](#what-to-cover-with-the-testing-instructions)
- [Flow to write good testing instructions](#flow-to-write-good-testing-instructions)
- [Examples](#examples)
## What is a test?
A test is a method that we can use to check that something meets certain criteria. It is typically defined as a procedure which contains the steps required to put the system under test in a certain state before executing the action to be checked. Therefore, a test consists of the following stages:
-**Preconditions:** All the steps that need to be performed to put the system in the desired state before executing the action we want to check. A test could have many preconditions.
-**Action:** This is the exact step that causes the change we want to check in the system. It should be only one because each test should ideally cover one thing at a time.
-**Validation:** Relates to the steps to be performed in order to validate the result of performing the action in the system. A test could validate more than one thing.
For example, in the process of adding an item to the cart:
- The **preconditions** would be all the steps involved in:
- The product creation process.
- Logging as a shopper.
- Heading to the shop page where the products are listed.
- The **action** would be clicking the _"Add to cart"_ button in the desired product.
- The **validation** stage would include checking that the cart icon (if any) shows 1 more item and the product we selected is now included in the cart.
Specifying the preconditions, actions and validations can be quite beneficial when understanding the scope of a test, because:
- The **preconditions** describe what we have to do so that we can execute the test successfully.
- The **action** lets us know the purpose of the test, in other words, it is the key to understanding what we need to test.
- The **validation** stage lets us know what to expect when executing the test.
In this context, we will refer to testing instructions as the tests we need to execute in order to validate that the changes delivered in a pull request or release work as expected. This means the testing instructions could refer to a test or more, involving the happy path and potential edge cases.
## What to cover with the testing instructions
As stated in the previous section, a test (in our context, a testing instruction) is a method to check that a new change or set of changes meets certain criteria.
Therefore, a PR could have testing instructions for multiple scenarios, in fact, it is recommended to include testing instructions for as many scenarios as needed to cover the changes introduced in the PR. In other words, please **add as many testing instructions as needed to cover the acceptance criteria**, understanding acceptance criteria as _the conditions that a software product must satisfy to be accepted by a user, customer or other stakeholders_ or, in the context of a PR, the conditions that this PR must satisfy to be accepted by users, developers and the WooCommerce community as per requirements.
## Flow to write good testing instructions
1.**Outline the user flows** you want to cover.
2.**Define the environment** where the testing instructions should be executed (server, PHP version, WP version, required plugins, etc), and start writing the testing instructions as if you were starting from a fresh install.
3. Identify the **preconditions**, **action** and **validation** steps.
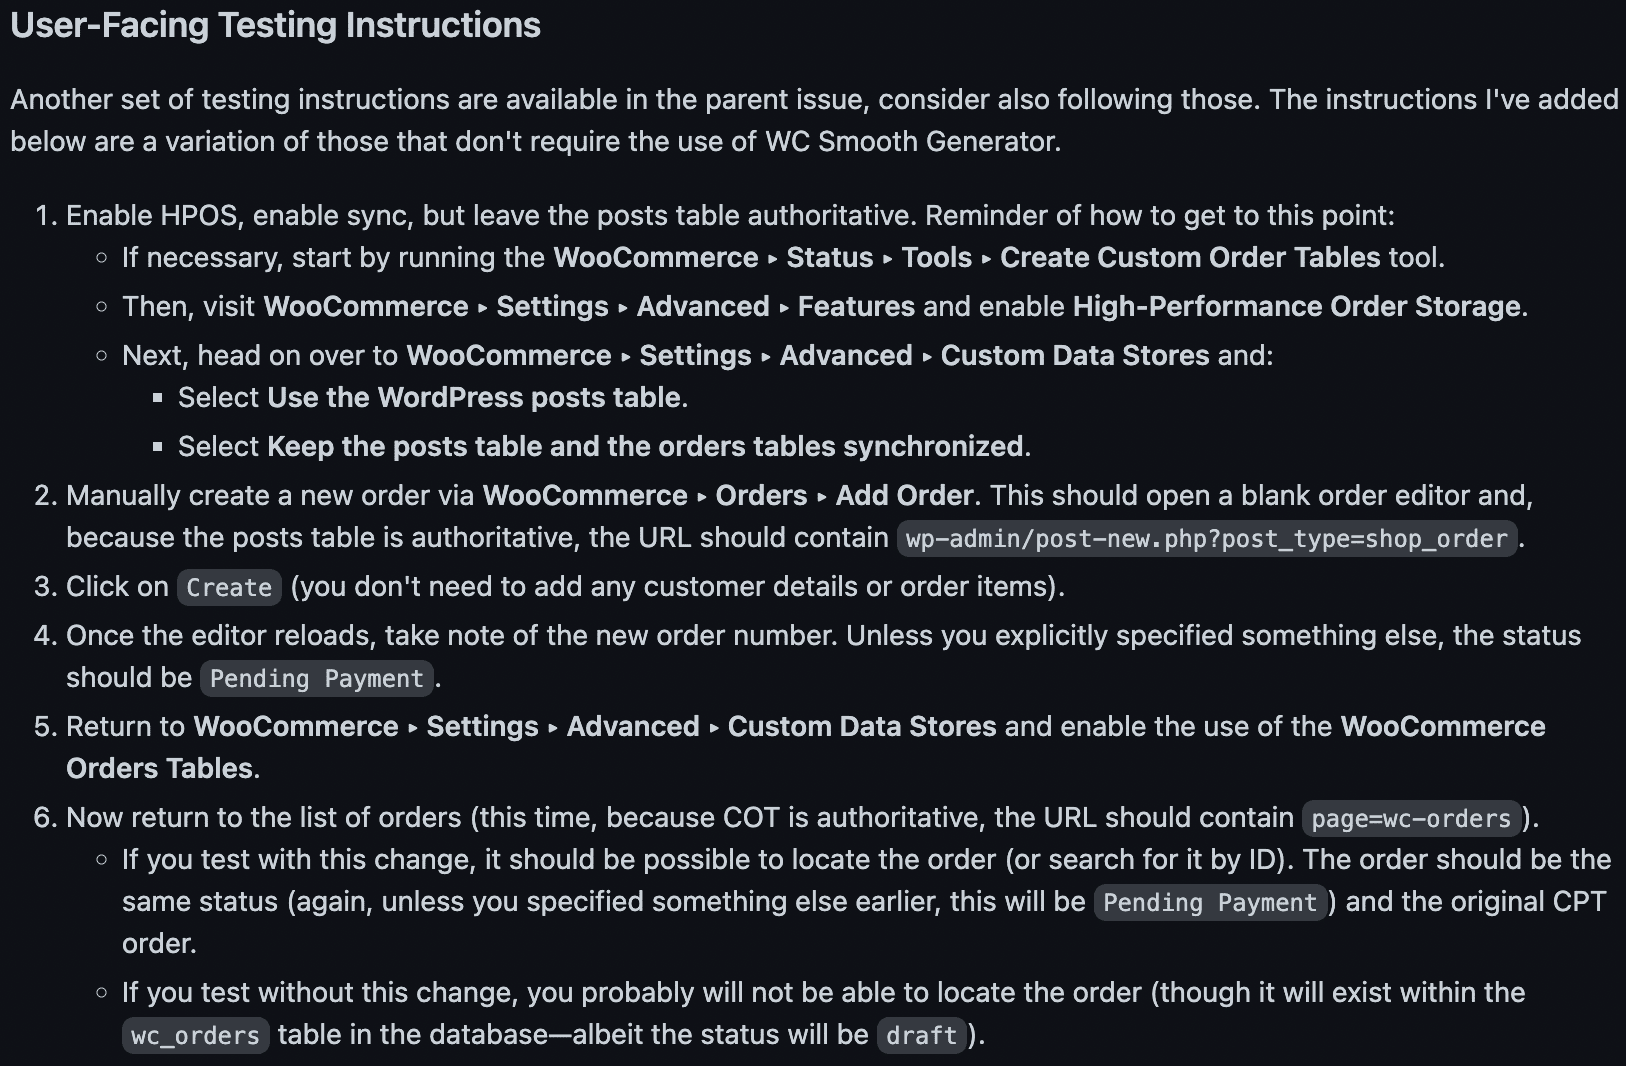
4. Write **as many preconditions as you need** to explain how to set up the state of WooCommerce so that you can execute the desired action to test every flow.
1. Try to be detailed when explaining the interactions the user needs to perform in WooCommerce.
2. If there are several preconditions for a user flow that is explained in a public guide, feel free to simply link the guide in the testing instructions instead of writing several steps. For example, _"Enable dev mode in WooCommerce Payments by following the steps mentioned [here](https://woocommerce.com/document/woocommerce-payments/testing-and-troubleshooting/dev-mode/)"_.
- Make sure to describe every detail and **avoid assuming knowledge**, the spectrum of readers might be wide and some people would not know the concepts behind what is being assumed. For example, instead of saying _"Enable the [x] experiment"_, say something like:
- Always try to explain in detail **where the user should head to**, for example instead of saying "Go to the Orders page as admin", say "Go to [url]" or even "Go to WooCommerce > Orders".
- Try to use real test data. For example, instead of saying _"Enter a name for the product"_, say something like _"Enter 'Blue T-Shirt' as the product name"_. This will make it more self-explanatory and remove potential doubts related to assuming knowledge.
- Make sure you **keep your testing instructions updated** if they become obsolete as part of a new commit.
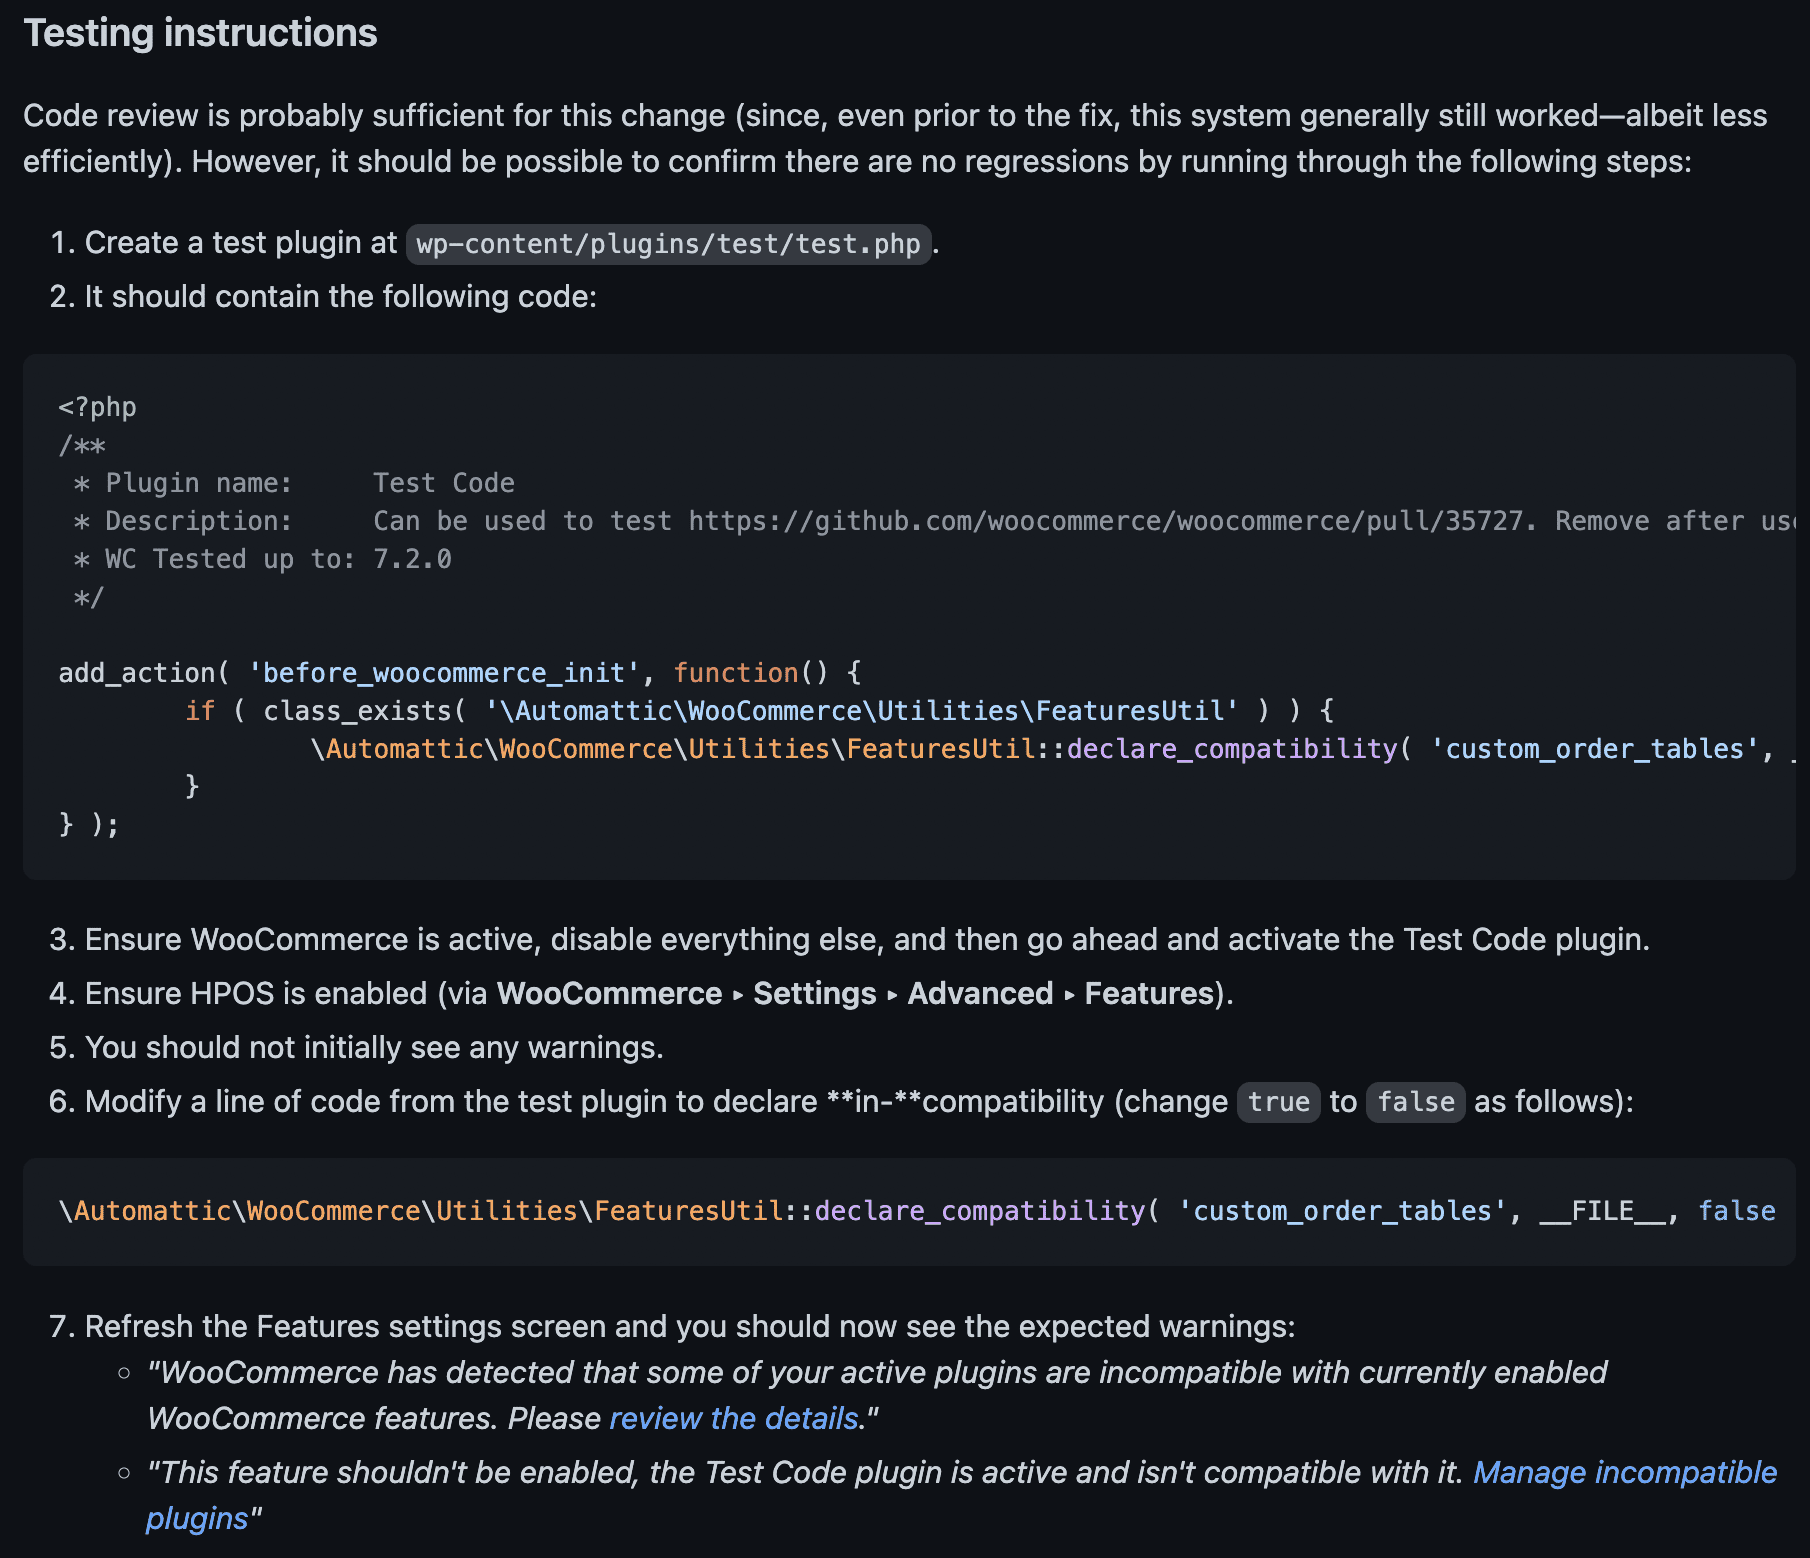
- If the testing instructions require to add custom code, please **provide the code snippet**.
- If the testing instructions require to install a plugin, please **provide a link to this plugin, or the zip file** to install it.
- If the testing instructions require to hit an API endpoint, please provide the **link to the endpoint documentation**.
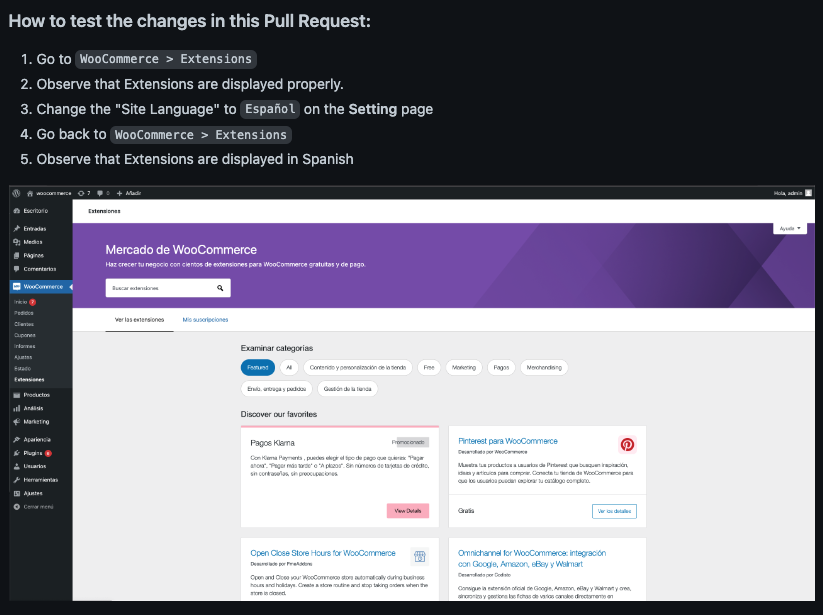
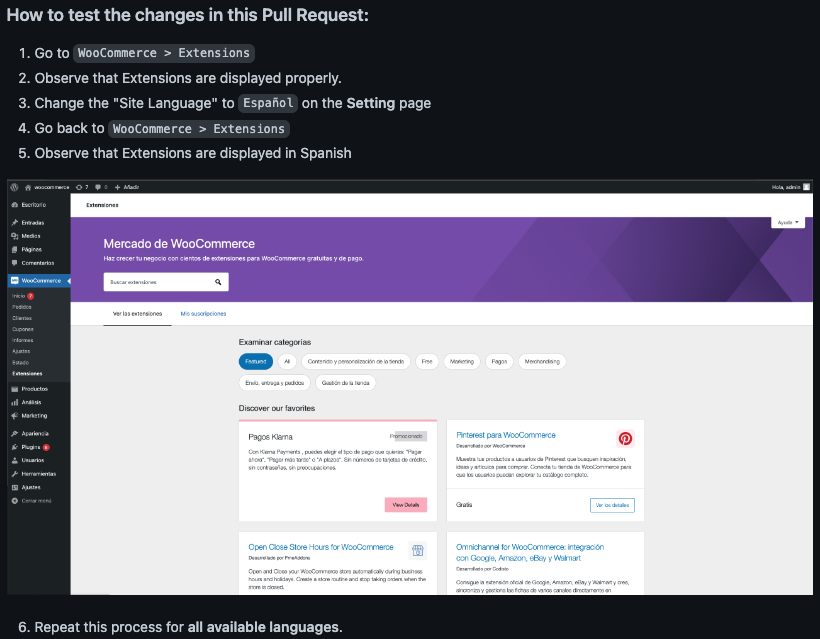
- Ideally **provide screenshots and/or videos** that supported what the testing instructions are explaining. If you are using links to collaborative tools then also provide an equivalent screenshot/video for those who do not have access.
