# Testing notes and ZIP for release 10.2.0
Zip file for testing: [woocommerce-gutenberg-products-block.zip](https://github.com/woocommerce/woocommerce-blocks/files/11450388/woocommerce-gutenberg-products-block.zip)
## WooCommerce Core
### Add shop by price pattern ([#9373](https://github.com/woocommerce/woocommerce-blocks/pull/9373))
1. Create a page and use the block inserter->patterns->WooCommerce and to insert the Shop by Price pattern.
2. Check that the preview shows up nicely and add the pattern to the page.
3. Update/save and check the frontend and ensure it is displaying nicely per design.

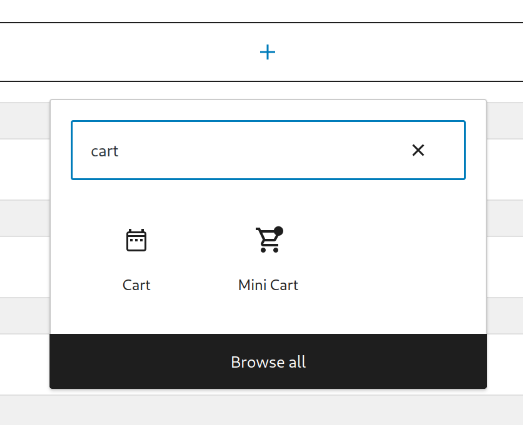
### Mini Cart drawer: print width in PHP [#9329](https://github.com/woocommerce/woocommerce-blocks/pull/9329)
1. Add the Mini Cart block to the header of your site (via Appearance > Editor).
2. In the frontend, open the Mini Cart drawer clicking on the button.
3. Verify the drawer is opened instantly. Until now, there might be a small delay if the shopper clicked the button very quickly right after the page was loaded and the network was slow.
Before | After
--- | ---
 | 
### Convert to use WP core blocks [#9340](https://github.com/woocommerce/woocommerce-blocks/pull/9340)
1. Create a page and use the block inserter->patterns->WooCommerce and to insert the Featured Category Triple pattern.
2. Check that the preview shows up nicely and add the pattern to the page.
3. Update/save and check the frontend and ensure it is displaying nicely per design.

### Add product hero pattern [#9181](https://github.com/woocommerce/woocommerce-blocks/pull/9181)
1. Create a page/post and use the block inserter->patterns->WooCommerce->Product Hero | Wide
2. Update/save and ensure the design is close to the suggested design seen below.
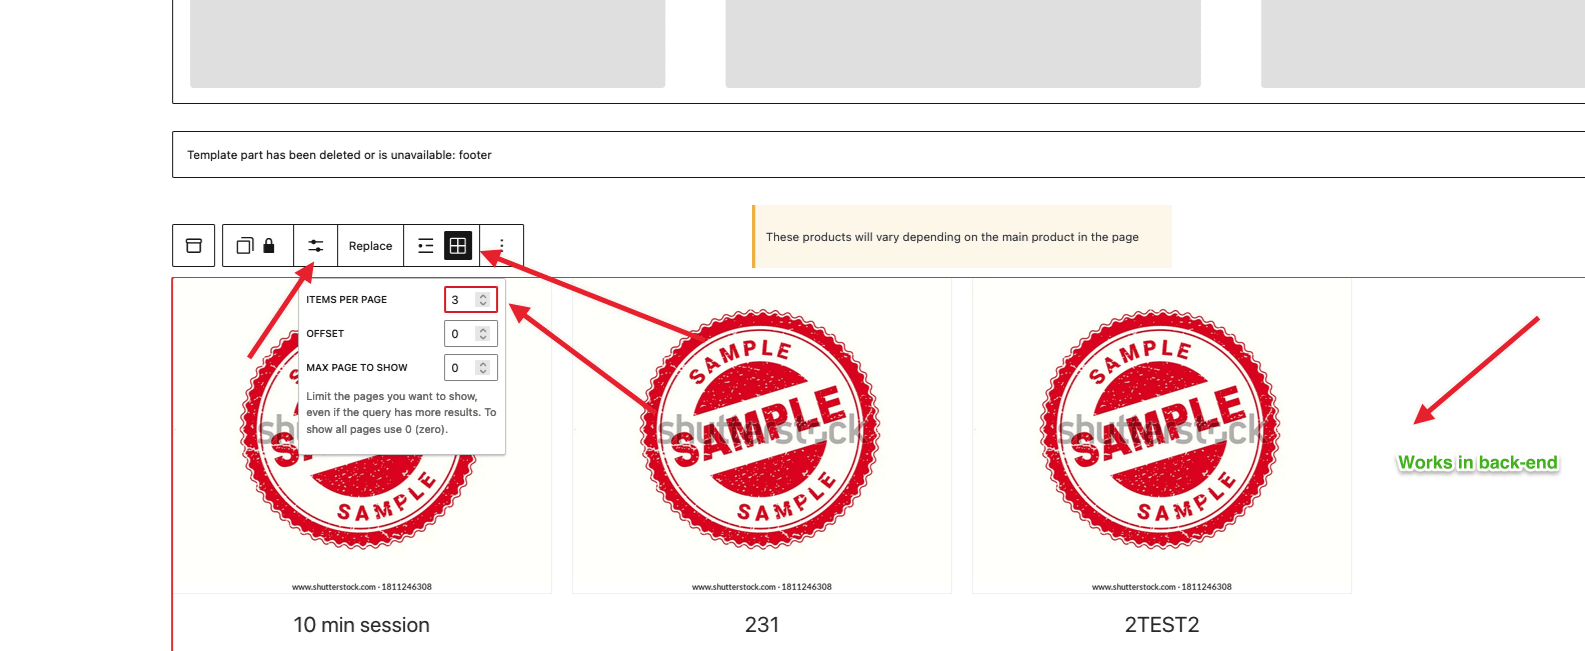
### Single Product Template - Related Products: fix items per page option [#9286](https://github.com/woocommerce/woocommerce-blocks/pull/9286)
1. Edit the Single Product Template.
2. Click on the button `Upgrade to Blockified Single Product template`.
3. Focus the `Related Products Controls` block.
4. Change the option `Items per Page`, for example put 1. (check the image below)
5. Save the template.
6. Visit a Product and be sure that the Related Products block shows the number of products that you selected before. (if you select a high number, there is the risk that there will be displayed fewer products. It is not a bug, but it means that aren't so many related products).
### Remove duplicated code in BlockTypesController.php [#9283](https://github.com/woocommerce/woocommerce-blocks/pull/9283)
1. Change your theme to a classic theme (ie: Storefront).
2. Go to Appearance > Widgets.
3. Verify the All Products, Cart and Checkout block don't appear in the inserter.
(Note: there is _Cart_ widget which _is_ available in the inserter, you can distinguish it from the block because it doesn't have a trolley icon)
### Fix Product Price styles leaking into the Mini Cart, Cart and Checkout blocks [#9276](https://github.com/woocommerce/woocommerce-blocks/pull/9276)
#### Product Price styles don't leak into the Mini Cart block
1. Go to Appearance > Editor > Template Parts > Mini Cart.
2. Open the Styles sidebar > Blocks > Product Price.
3. Set some margin and color to the Product Price.
4. Verify that the new styles aren't applied to the product prices shown in the Mini Cart.
5. Go to the frontend and open the Mini Cart drawer.
6. Verify again that the styles you set in step 3 don't affect the product prices shown in the Mini Cart drawer.
#### Product Price styles are still applied to the Single Product template
1. Go to Appearance > Editor > Templates > Single Product. Add the Product Price block somewhere in the template.
2. Open the Styles sidebar > Blocks > Product Price.
3. Set some margin and color to the Product Price.
4. Verify that the Product Price block has the margin and color you set.
7. Open the single product page in the frontend.
8. Verify that the Product Price block has the margin and color you set.
#### Product Price styles are still applied to the Products and All Products blocks
1. Go to Appearance > Editor > Templates > Product Catalog. Add the Products and All Products blocks somewhere in the template.
2. Open the Styles sidebar > Blocks > Product Price.
3. Set some margin and color to the Product Price.
4. Verify that the Product Price inner blocks have the margin and color you set.
7. Open the Shop page in the frontend.
8. Verify that the Product Price inner blocks have the margin and color you set.
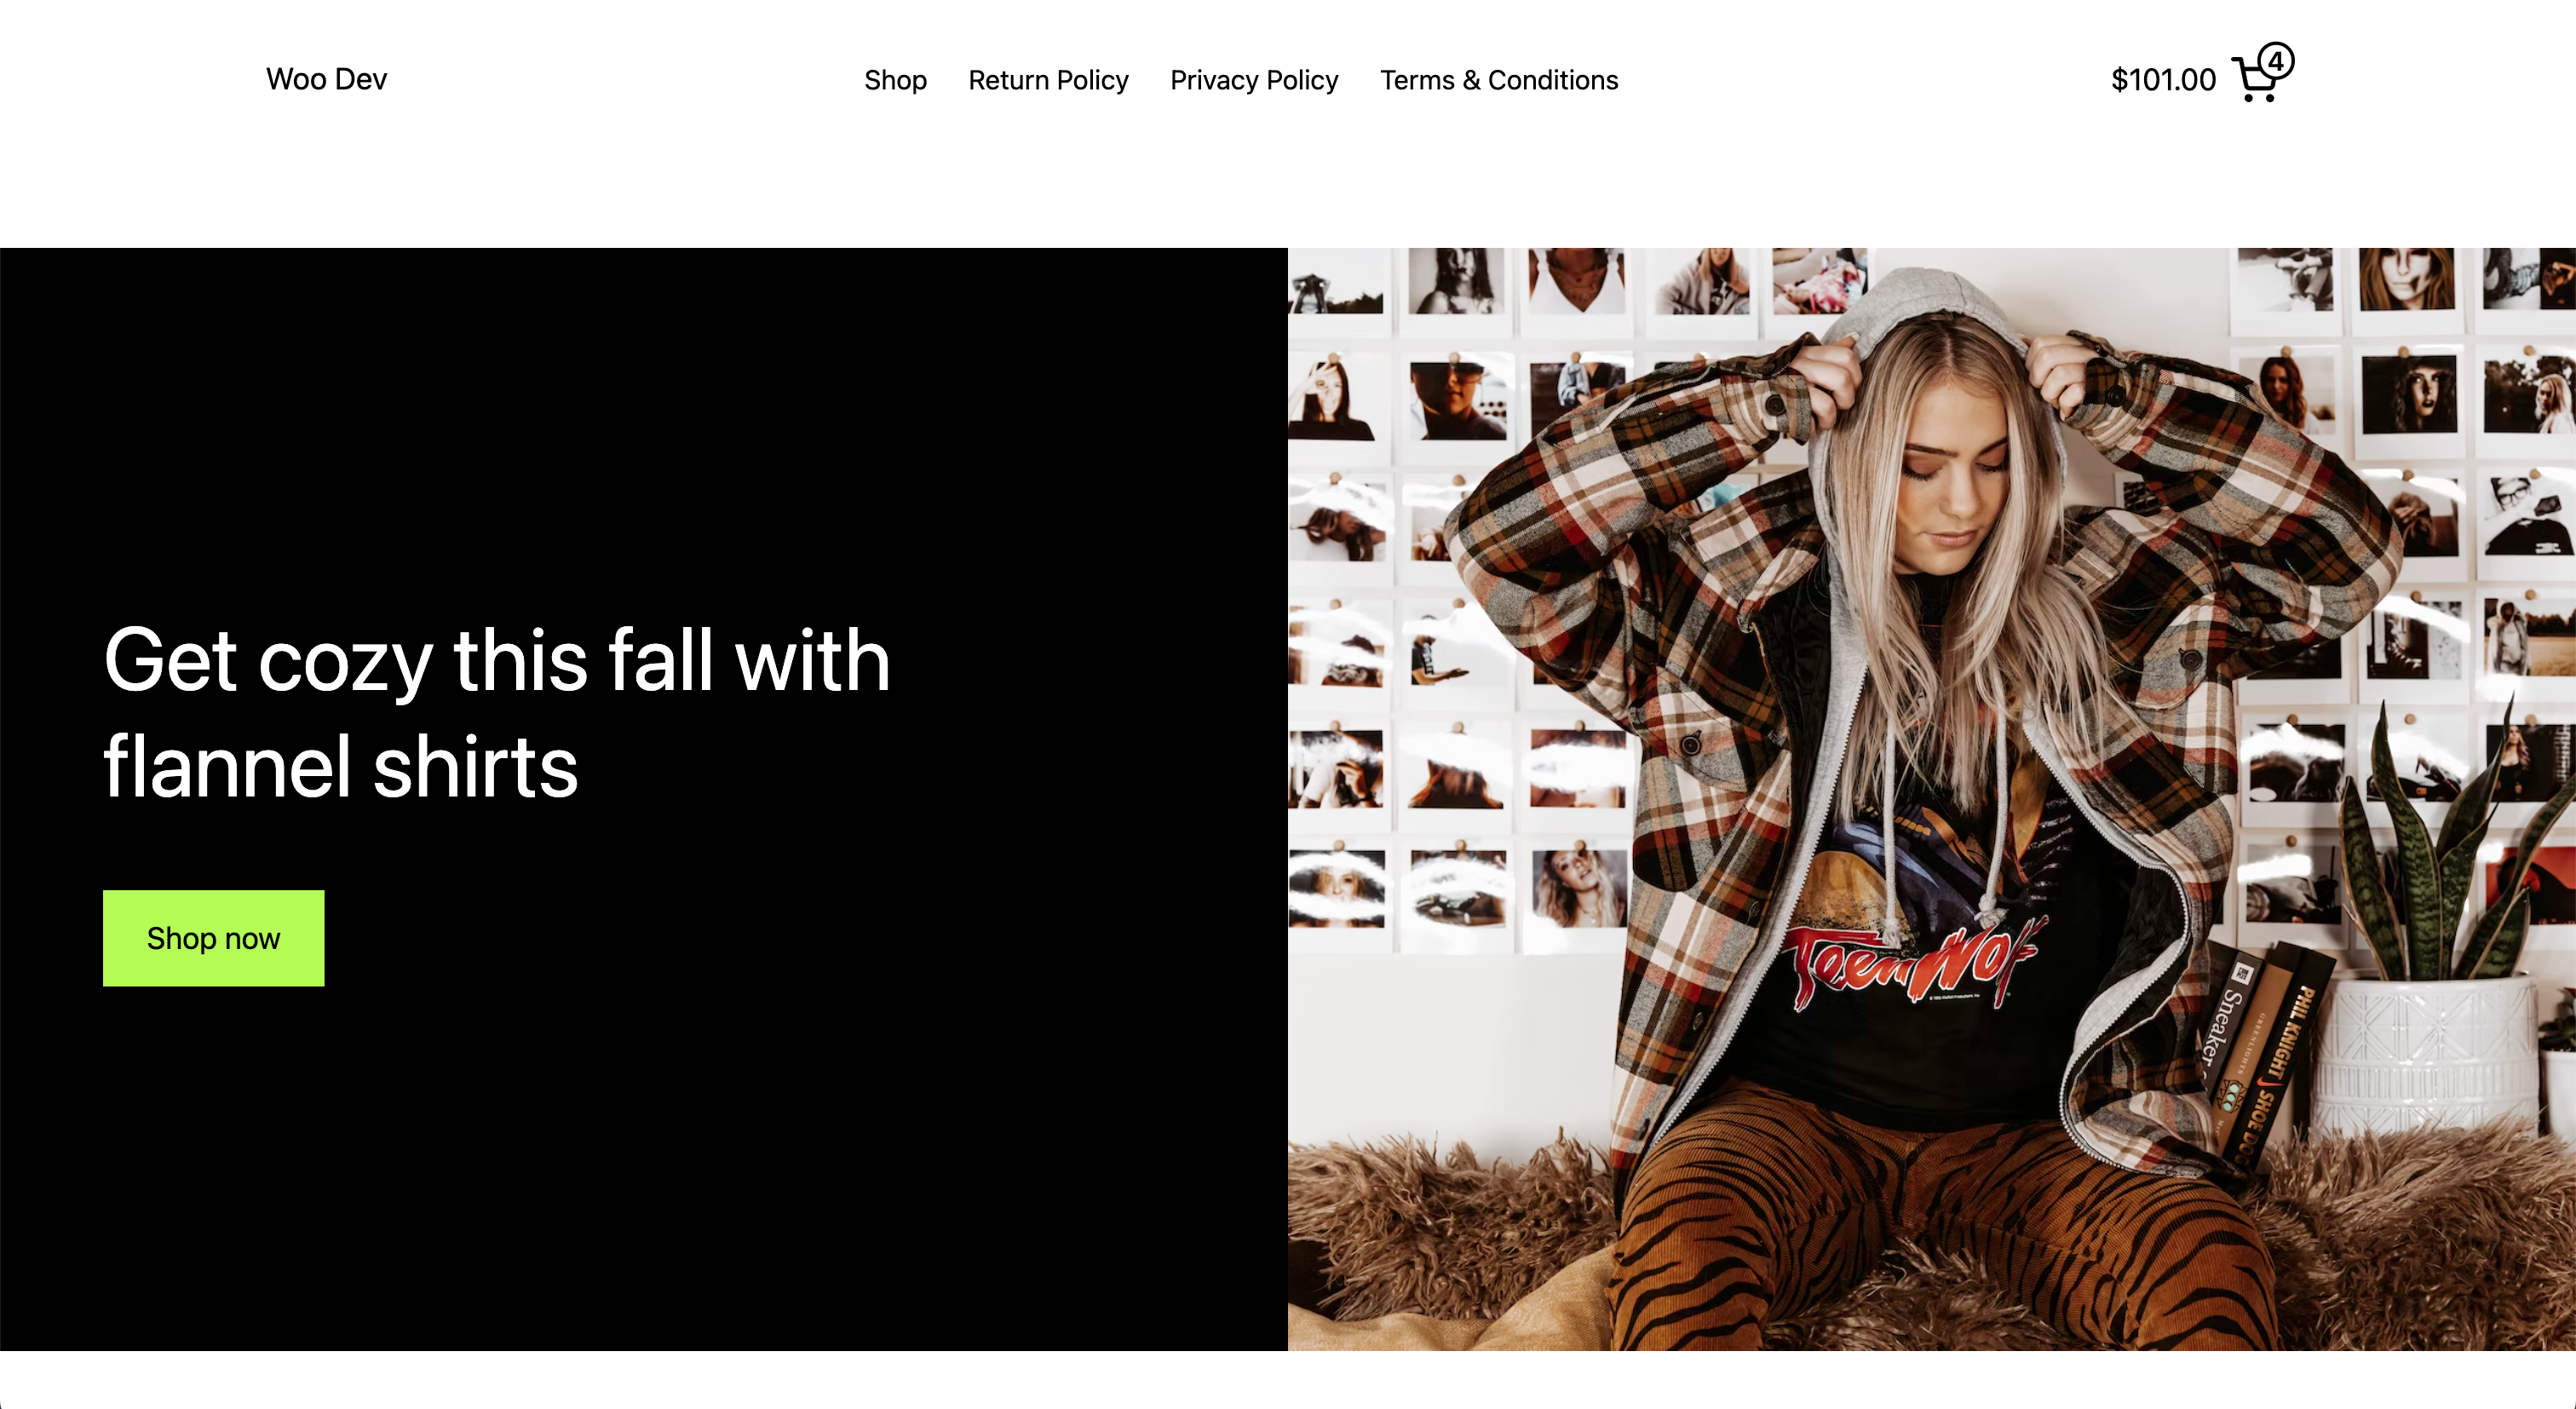
### Implement new Hero Product – Split pattern [#9191](https://github.com/woocommerce/woocommerce-blocks/pull/9191)
1. Create a new page or post
2. Make sure the `WooCommerce Hero Product – Split` pattern appears under the WooCommerce category dropdown.
3. Insert in and make sure it shows as expected on the design.
### Add featured category cover image [#9284](https://github.com/woocommerce/woocommerce-blocks/pull/9284)
1. Create a page and use the block inserter->patterns->WooCommerce and to insert the Featured Category Cover Image.
2. Insert the pattern and update/save and check the frontend and ensure it is displaying close to the design from [#9046](https://github.com/woocommerce/woocommerce-blocks/issues/9046)

### Prevent email address being removed when changing shipping method/entering shipping address [#9328](https://github.com/woocommerce/woocommerce-blocks/pull/9328)
1. Enable local pickup (WooCommerce -> Settings -> Shipping -> Local Pickup) and add some locations.
2. Add some shipping locations in WooCommerce -> Settings -> Shipping.
3. In an incognito window, add an item to your cart and go to the Checkout block.
4. Click the "Local Pickup" button in the shipping method selector.
5. Enter your email address, then click the "Shipping" button. Ensure the email address remains as you entered it.
6. Change the email address again, put something different in.
7. Edit the "First name" field of the shipping address. Ensure the email address remains as you entered it.
8. Uncheck the "Use shipping as billing" checkbox and check out with two different addresses. Ensure the addresses are correct in the order confirmation email and in the WooCommerce back end.
### [Pattern] Add new Hero product 3 split pattern [#9319](https://github.com/woocommerce/woocommerce-blocks/pull/9319)
1. Create a new page or post
2. Make sure the `Hero product 3 split` pattern appears under the WooCommerce category dropdown.
3. Insert in and make sure it shows as expected on the design.

### Rename Add to Cart [#9315](https://github.com/woocommerce/woocommerce-blocks/pull/9315)
1. Open the Site Editor.
2. Go to the Single Product Template.
3. Click on the button "Upgrade to Blockified Single Product Template".
4. Click on the `Add to Cart" button.
5. On the sidebar, check the name of the block. Be sure that the name is "Add to Cart with Options".
### Product Image Gallery: fix resize width when the window resizes [#9299](https://github.com/woocommerce/woocommerce-blocks/pull/9299)
1. Edit the Single Product Template.
2. Switch to the blockified version.
3. Save.
4. Visit a product page that has multiple images (if you are using test products, you can visit the `Logo Collection` product.
5. Be sure that the Product Image Gallery block doesn't overlap with the text when you resize the window.
| Before | After |
| ------ | ----- |
|| |
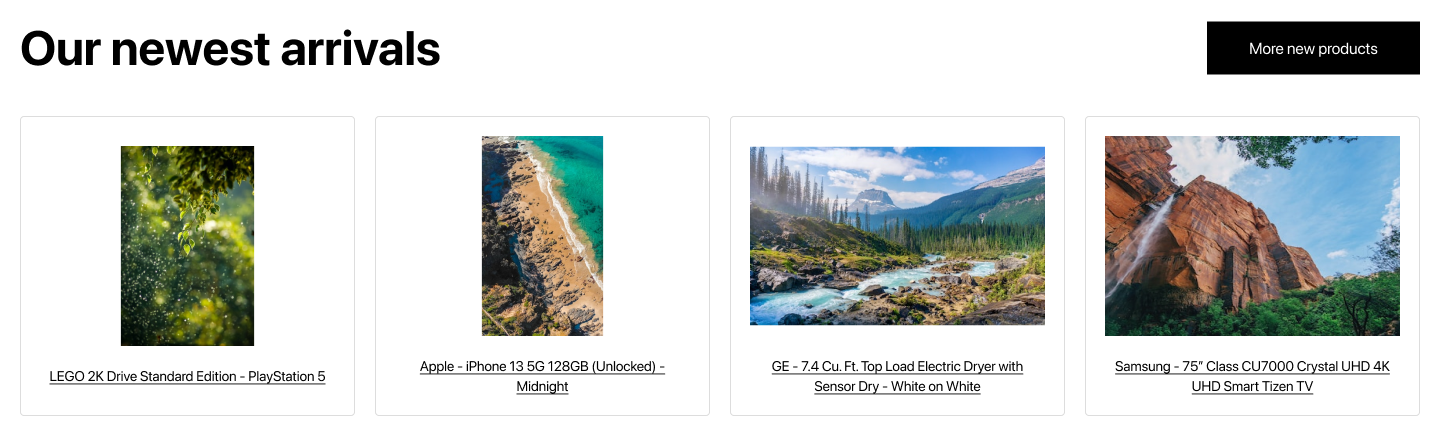
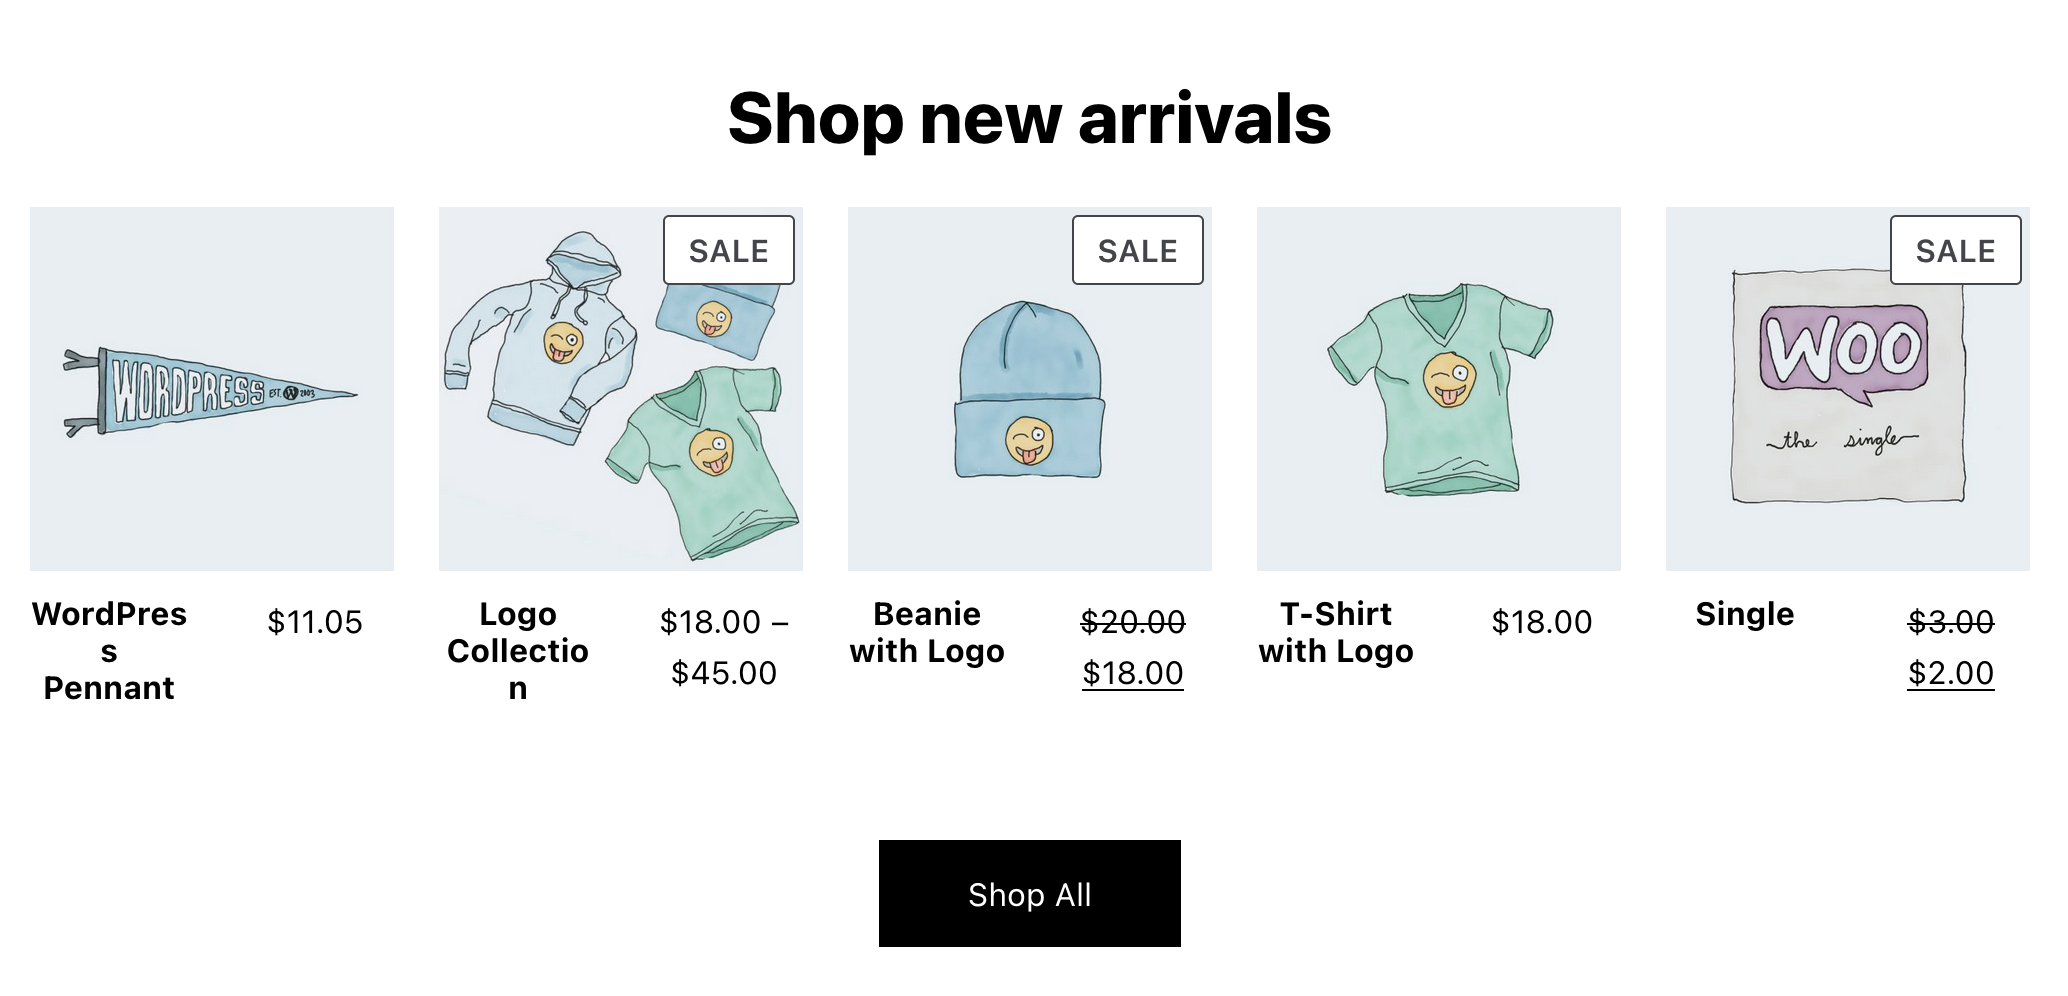
### [Pattern] Add new Product Collections: Newest Arrivals pattern [#9240](https://github.com/woocommerce/woocommerce-blocks/pull/9240)
1. Create a new page or post
2. Make sure the `Product Collections: Newest Arrivals` pattern appears under the WooCommerce category dropdown.
3. Insert in and make sure it shows as expected on the design.
### Fix Mini Cart block not respecting Add-to-Cart behaviour attribute when adding the first product [#9257](https://github.com/woocommerce/woocommerce-blocks/pull/9257)
1. Go to Appearance > Editor and add the Mini Cart block to the header of your store.
2. Make sure the _Open cart in a drawer_ option is disabled:
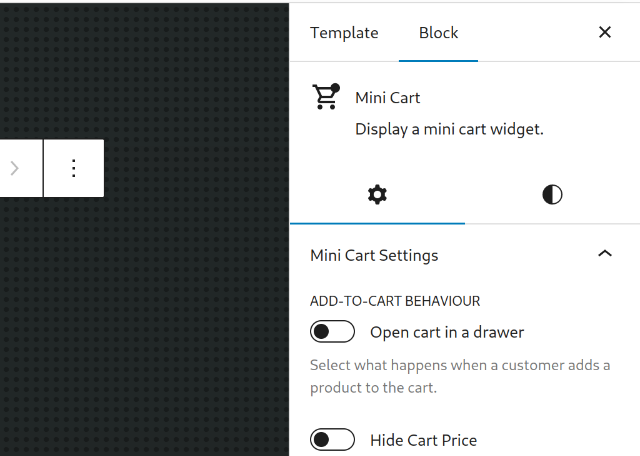
3. Go to the frontend and add a product to your cart from the Shop page.
4. Verify the drawer doesn't open but the Mini Cart value increases.
5. Go back to the site editor and enable the _Open cart in a drawer_ option.
6. Again from the frontend add a product to your cart.
7. Verify now the drawer does open.
### Fix shipping notices for multiple packages [#9285](https://github.com/woocommerce/woocommerce-blocks/pull/9285)
- Enable “Multiple Packages for WooCommerce” extension.
- Go to WooCommerce > Settings > Multiple packages
- Select "group by" product, then save changes.
- Add several items to your cart.
- Go to the cart page, toggle open a package section, and choose “local pickup”
- Toggle open another package and choose something other than "local pickup"
- See the “Multiple shipments must have the same pickup location” notice above the packages
- Go to the checkout page
- Choose "shipping" in the shipping method block
- Quickly look at the shipping section below and ensure no notice was visible
### Add/featured category focus pattern [#9322](https://github.com/woocommerce/woocommerce-blocks/pull/9322)
1. Create a page and use the block inserter->patterns->WooCommerce and to insert the Featured Category Focus.
2. Notice the preview shows per design screenshot shown above.
3. Insert the pattern and then update/save and check the frontend and ensure it is displaying as the screenshot above.

### Related Products: make Product Title a link by default [#9179](https://github.com/woocommerce/woocommerce-blocks/pull/9179)
1. Go to Appearance > Site Editor > Templates > Single Product.
2. Add the Related Products somewhere in the page.
3. Click on the Product Title inner block.
4. Verify the _Make title a link_ toggle is on by default.

### Product Image Gallery: fix inline [#9297](https://github.com/woocommerce/woocommerce-blocks/pull/9297)
1. Edit the Single Product Template.
2. Switch to the blockified version.
3. Move the Product Image Gallery before the block `Store breadcrumbs`.
4. Save.
5. Visit a product page.
6. Be sure that the Product Image Gallery isn't displayed inline.
### Add new Product collections: Featured Collection pattern [#9246](https://github.com/woocommerce/woocommerce-blocks/pull/9246)
1. Create a new page or post
2. Make sure the `Product Collections: Featured Collection` pattern appears under the WooCommerce category dropdown.
3. Insert in and make sure it shows as expected on the design.
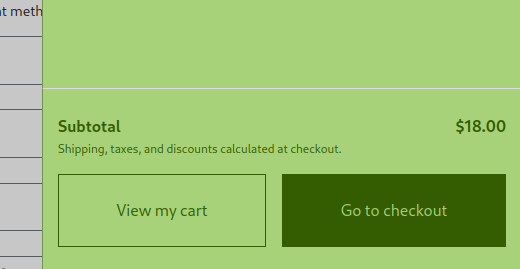
### Remove min-height and padding for WP Button elements [#9260](https://github.com/woocommerce/woocommerce-blocks/pull/9260)
1. Enable TT3 theme with the Aubergine style.
2. Go to the Site Editor and add the mini-cart block to the header and save.
3. Go to the Site Editor and edit the mini-cart template part and save.
4. Check the cart buttons in the editor vs the cart buttons in the front-end are the same.
5. Enable TT3 theme with the Whisper style.
2. Create a new page and add a Single Product and a Checkout block and save.
3. Check the cart buttons in the editor vs the cart buttons in the front-end are the same.
#### Before
| Editor | Front-end |
| ------ | ----- |
|  |
|  |
| Editor | Front-end |
| ------ | ----- |
|
|
| Editor | Front-end |
| ------ | ----- |
|  |
| |
#### After
| Editor | Frontend |
| ------ | ----- |
|  |  |
| Editor | Frontend |
| ------ | ----- |
|| |
### Products block: Using nested selector to add margin between Product elements [#8993](https://github.com/woocommerce/woocommerce-blocks/pull/8993)
1. Create a new post & Add Products block to it.
2. Add all product elements as inner blocks
|
#### After
| Editor | Frontend |
| ------ | ----- |
|  |  |
| Editor | Frontend |
| ------ | ----- |
|| |
### Products block: Using nested selector to add margin between Product elements [#8993](https://github.com/woocommerce/woocommerce-blocks/pull/8993)
1. Create a new post & Add Products block to it.
2. Add all product elements as inner blocks
 3. Save & publish
4. Verify that on Editor & Frontend, There is equal space between the product elements.
5. Now using following steps, verify that user can still change margin-top & bottom of products elements using Global styles:
1. Open the Global Styles sidebar by clicking the "Styles" button at the top right corner of the editor. [video](https://user-images.githubusercontent.com/16707866/228781997-24a9a29f-4be7-46d4-b1b3-41520692d86d.mov)
2. In the Global Styles sidebar, locate any product element, for example, "Product Price" block.
3. Change margin-top & bottom and save the changes.
4. Check the Product Price block in both the editor and on the front-end to ensure that the changes made through the Global styles UI are accurately applied:
- In the editor, inspect Product Price block & ensure it matches the value set in the Global styles UI.
- Save the post & publish it. On frontend, inspect Product Price block & ensure it matches the value set in the Global styles UI.
### [Patterns]: Add new Header Centered Search pattern [#9081](https://github.com/woocommerce/woocommerce-blocks/pull/9081)
1. Create a new page or post
2. Make sure the `WooCommerce Header Centered Search` pattern appears under the WooCommerce category dropdown.
3. Insert in and make sure it shows as expected on the design.

### [Patterns] Add new Footer with 3 menus menu [#9175](https://github.com/woocommerce/woocommerce-blocks/pull/9175)
1. Create a new page or post
2. Make sure the `Footer with 3 menus` pattern appears under the WooCommerce category dropdown.
3. Insert in and make sure it shows as expected on the design.

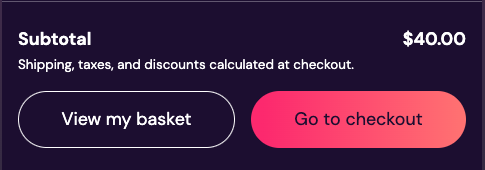
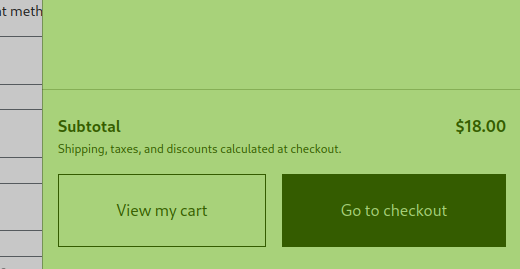
### Use currentColor for Mini Cart footer border [#9245](https://github.com/woocommerce/woocommerce-blocks/pull/9245)
1. Go to the Appearance > Editor > Template Parts, open the `Header template`, and insert the `Mini Cart` block.
2. Go to the Appearance > Editor > Template Parts and open the `Mini Cart` template part.
3. Change the text color of the Mini Cart template part to something different than black or gray. For example, set it to red, blue or green.
4. Save it and, in the frontend, open the Mini Cart drawer.
5. Verify the border between the main content of the Mini Cart drawer and the Mini Cart footer follows the text color (it's expected to be a translucent version of that color, similar to the border of the quantity input field of products).
Before | After
--- | ---
 | 
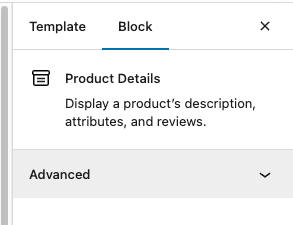
### Update the icon and description for the Product Details block [#9241](https://github.com/woocommerce/woocommerce-blocks/pull/9241)
1. Open the Site Editor.
2. Go to the Single Product Template.
3. Click on the button "Upgrade to Blockified Single Product Template".
4. Get the focus on the Product Details Block.
5. On the sidebar, check the icon of the block and the description are equals to the image below:
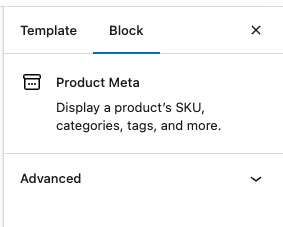
### Update icon and description for the Product Meta block [#9243](https://github.com/woocommerce/woocommerce-blocks/pull/9243)
1. Open the Site Editor.
2. Go to the Single Product Template.
3. Click on the button "Upgrade to Blockified Single Product Template".
4. Get focus on the Product Meta Block.
5. On the sidebar, check the icon of the block and the description are equals to the image below:
### [Patterns]: Add new Featured products: 5-item grid pattern [#9006](https://github.com/woocommerce/woocommerce-blocks/pull/9006)
1. Create a new page or post
2. Make sure the `WooCommerce Featured Products 5-item grid` pattern appears under the WooCommerce category dropdown.
3. Insert in and make sure it shows as expected on the design.
### Implement Hand-Picked Products block [#7925](https://github.com/woocommerce/woocommerce-blocks/pull/7925)
#### Simplest path
1. Add a “Products (Beta)” block to your page.
2. Go to the “Advanced Filters” within the Inspector Controls and add “Hand-picked Products”.
3. Start typing to select some products.
4. Ensure the preview is correctly updated as you narrow down your selection.
5. Click Publish.
6. Ensure the front-end is correct.
#### Complex path
1. Repeat steps 1–4 above.
2. Add additional filters (such as “On sale”).
3. Ensure the block only applies the subsequent filters to the subset of products you have selected.
### Only validate postcode if its required or filled [#9377](https://github.com/woocommerce/woocommerce-blocks/pull/9377)
1. Set country to something with an optional postcode like Vietnam
2. Try to checkout with the field empty, it should pass fine.
### Remove `
3. Save & publish
4. Verify that on Editor & Frontend, There is equal space between the product elements.
5. Now using following steps, verify that user can still change margin-top & bottom of products elements using Global styles:
1. Open the Global Styles sidebar by clicking the "Styles" button at the top right corner of the editor. [video](https://user-images.githubusercontent.com/16707866/228781997-24a9a29f-4be7-46d4-b1b3-41520692d86d.mov)
2. In the Global Styles sidebar, locate any product element, for example, "Product Price" block.
3. Change margin-top & bottom and save the changes.
4. Check the Product Price block in both the editor and on the front-end to ensure that the changes made through the Global styles UI are accurately applied:
- In the editor, inspect Product Price block & ensure it matches the value set in the Global styles UI.
- Save the post & publish it. On frontend, inspect Product Price block & ensure it matches the value set in the Global styles UI.
### [Patterns]: Add new Header Centered Search pattern [#9081](https://github.com/woocommerce/woocommerce-blocks/pull/9081)
1. Create a new page or post
2. Make sure the `WooCommerce Header Centered Search` pattern appears under the WooCommerce category dropdown.
3. Insert in and make sure it shows as expected on the design.

### [Patterns] Add new Footer with 3 menus menu [#9175](https://github.com/woocommerce/woocommerce-blocks/pull/9175)
1. Create a new page or post
2. Make sure the `Footer with 3 menus` pattern appears under the WooCommerce category dropdown.
3. Insert in and make sure it shows as expected on the design.

### Use currentColor for Mini Cart footer border [#9245](https://github.com/woocommerce/woocommerce-blocks/pull/9245)
1. Go to the Appearance > Editor > Template Parts, open the `Header template`, and insert the `Mini Cart` block.
2. Go to the Appearance > Editor > Template Parts and open the `Mini Cart` template part.
3. Change the text color of the Mini Cart template part to something different than black or gray. For example, set it to red, blue or green.
4. Save it and, in the frontend, open the Mini Cart drawer.
5. Verify the border between the main content of the Mini Cart drawer and the Mini Cart footer follows the text color (it's expected to be a translucent version of that color, similar to the border of the quantity input field of products).
Before | After
--- | ---
 | 
### Update the icon and description for the Product Details block [#9241](https://github.com/woocommerce/woocommerce-blocks/pull/9241)
1. Open the Site Editor.
2. Go to the Single Product Template.
3. Click on the button "Upgrade to Blockified Single Product Template".
4. Get the focus on the Product Details Block.
5. On the sidebar, check the icon of the block and the description are equals to the image below:

### Update icon and description for the Product Meta block [#9243](https://github.com/woocommerce/woocommerce-blocks/pull/9243)
1. Open the Site Editor.
2. Go to the Single Product Template.
3. Click on the button "Upgrade to Blockified Single Product Template".
4. Get focus on the Product Meta Block.
5. On the sidebar, check the icon of the block and the description are equals to the image below:

### [Patterns]: Add new Featured products: 5-item grid pattern [#9006](https://github.com/woocommerce/woocommerce-blocks/pull/9006)
1. Create a new page or post
2. Make sure the `WooCommerce Featured Products 5-item grid` pattern appears under the WooCommerce category dropdown.
3. Insert in and make sure it shows as expected on the design.

### Implement Hand-Picked Products block [#7925](https://github.com/woocommerce/woocommerce-blocks/pull/7925)
#### Simplest path
1. Add a “Products (Beta)” block to your page.
2. Go to the “Advanced Filters” within the Inspector Controls and add “Hand-picked Products”.
3. Start typing to select some products.
4. Ensure the preview is correctly updated as you narrow down your selection.
5. Click Publish.
6. Ensure the front-end is correct.
#### Complex path
1. Repeat steps 1–4 above.
2. Add additional filters (such as “On sale”).
3. Ensure the block only applies the subsequent filters to the subset of products you have selected.
### Only validate postcode if its required or filled [#9377](https://github.com/woocommerce/woocommerce-blocks/pull/9377)
1. Set country to something with an optional postcode like Vietnam
2. Try to checkout with the field empty, it should pass fine.
### Remove `
` In Hero Product – Split Pattern Heading [#9409](https://github.com/woocommerce/woocommerce-blocks/pull/9409)
1. In the editor, insert the `Hero Product – Split` pattern.
2. Inspect the output and confirm that there is no `
` in the heading.
3. Adjust the browser/viewport width and confirm that the text flows naturally without any unexpected line-breaks.

### Related Products: Fix hardcoded limit product [#9407](https://github.com/woocommerce/woocommerce-blocks/pull/9407)
1. Open the Single Product Template.
2. Switch to the blockified template.
3. Focus on the `Related Products Controls` block.
4. Change the option `Items per Page`, for example, put 10.
5. Be sure that there are often related products. (if not, you can just clone the same product multiple times)
6. Save the template.
7. Visit a Product and be sure that the Related Products block shows the number of products that you selected before. (if you select a high number, there is the risk that there will be displayed fewer products. It is not a bug, but it means that aren't so many related products).
## Feature plugin
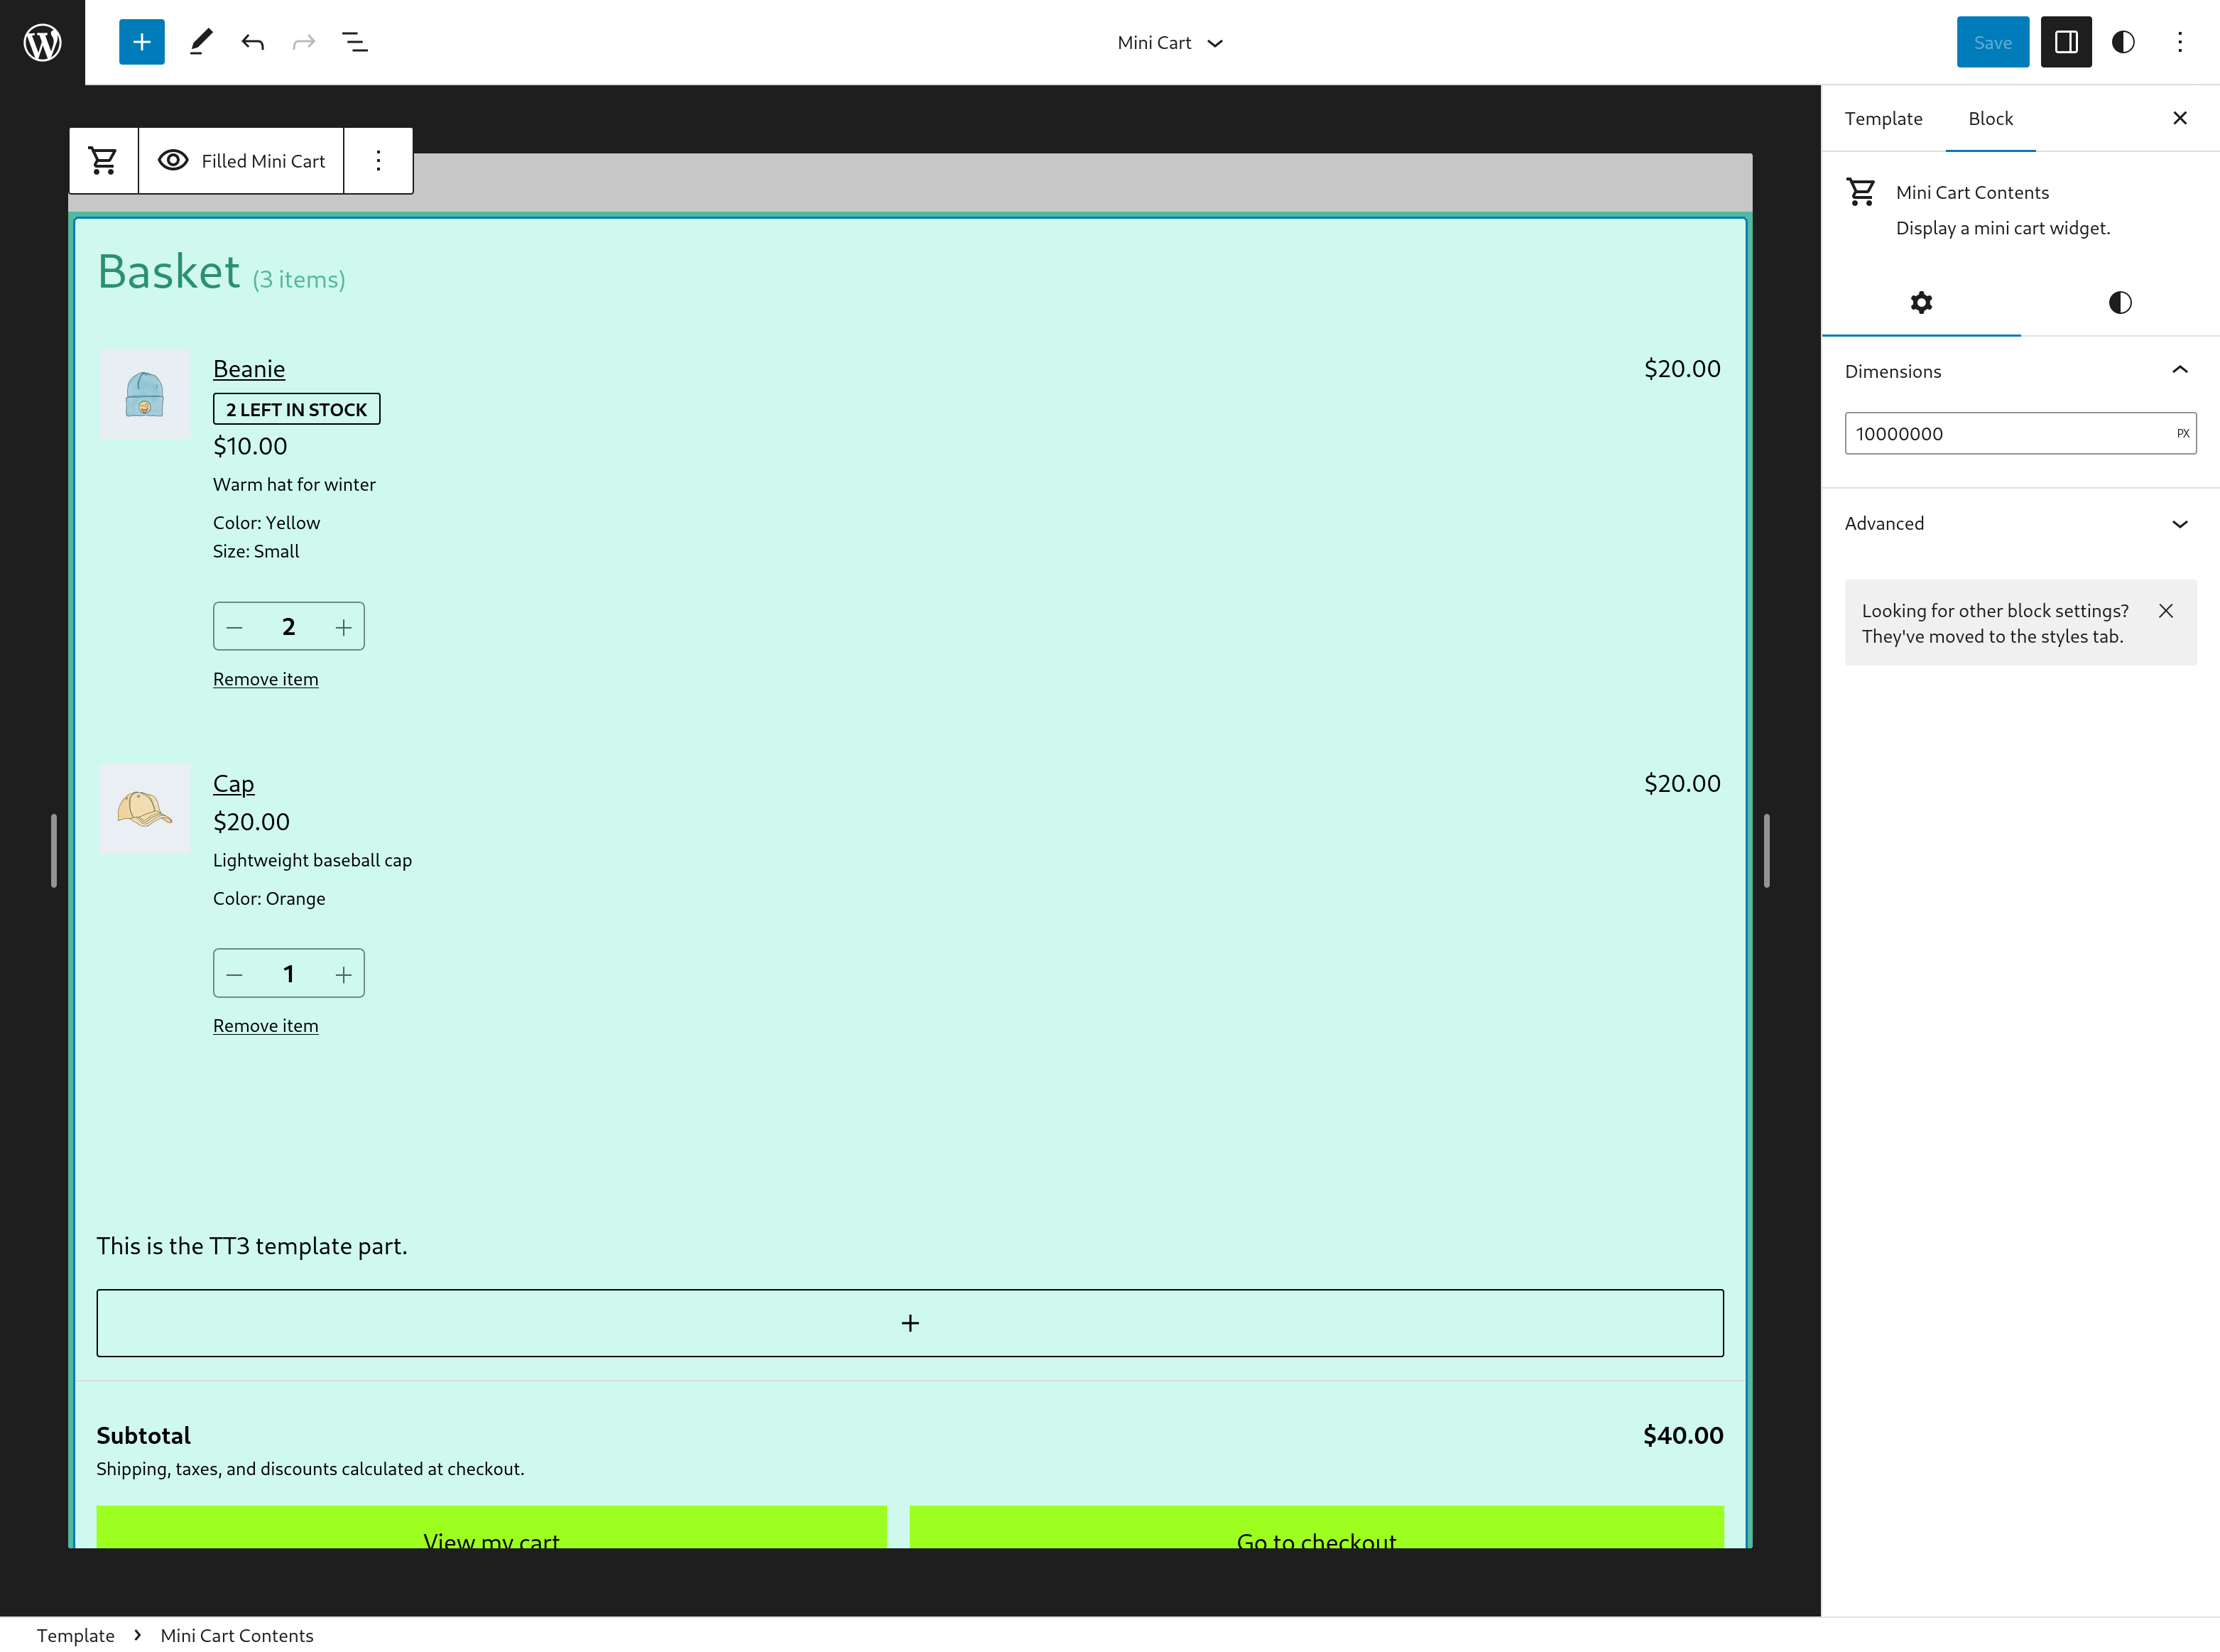
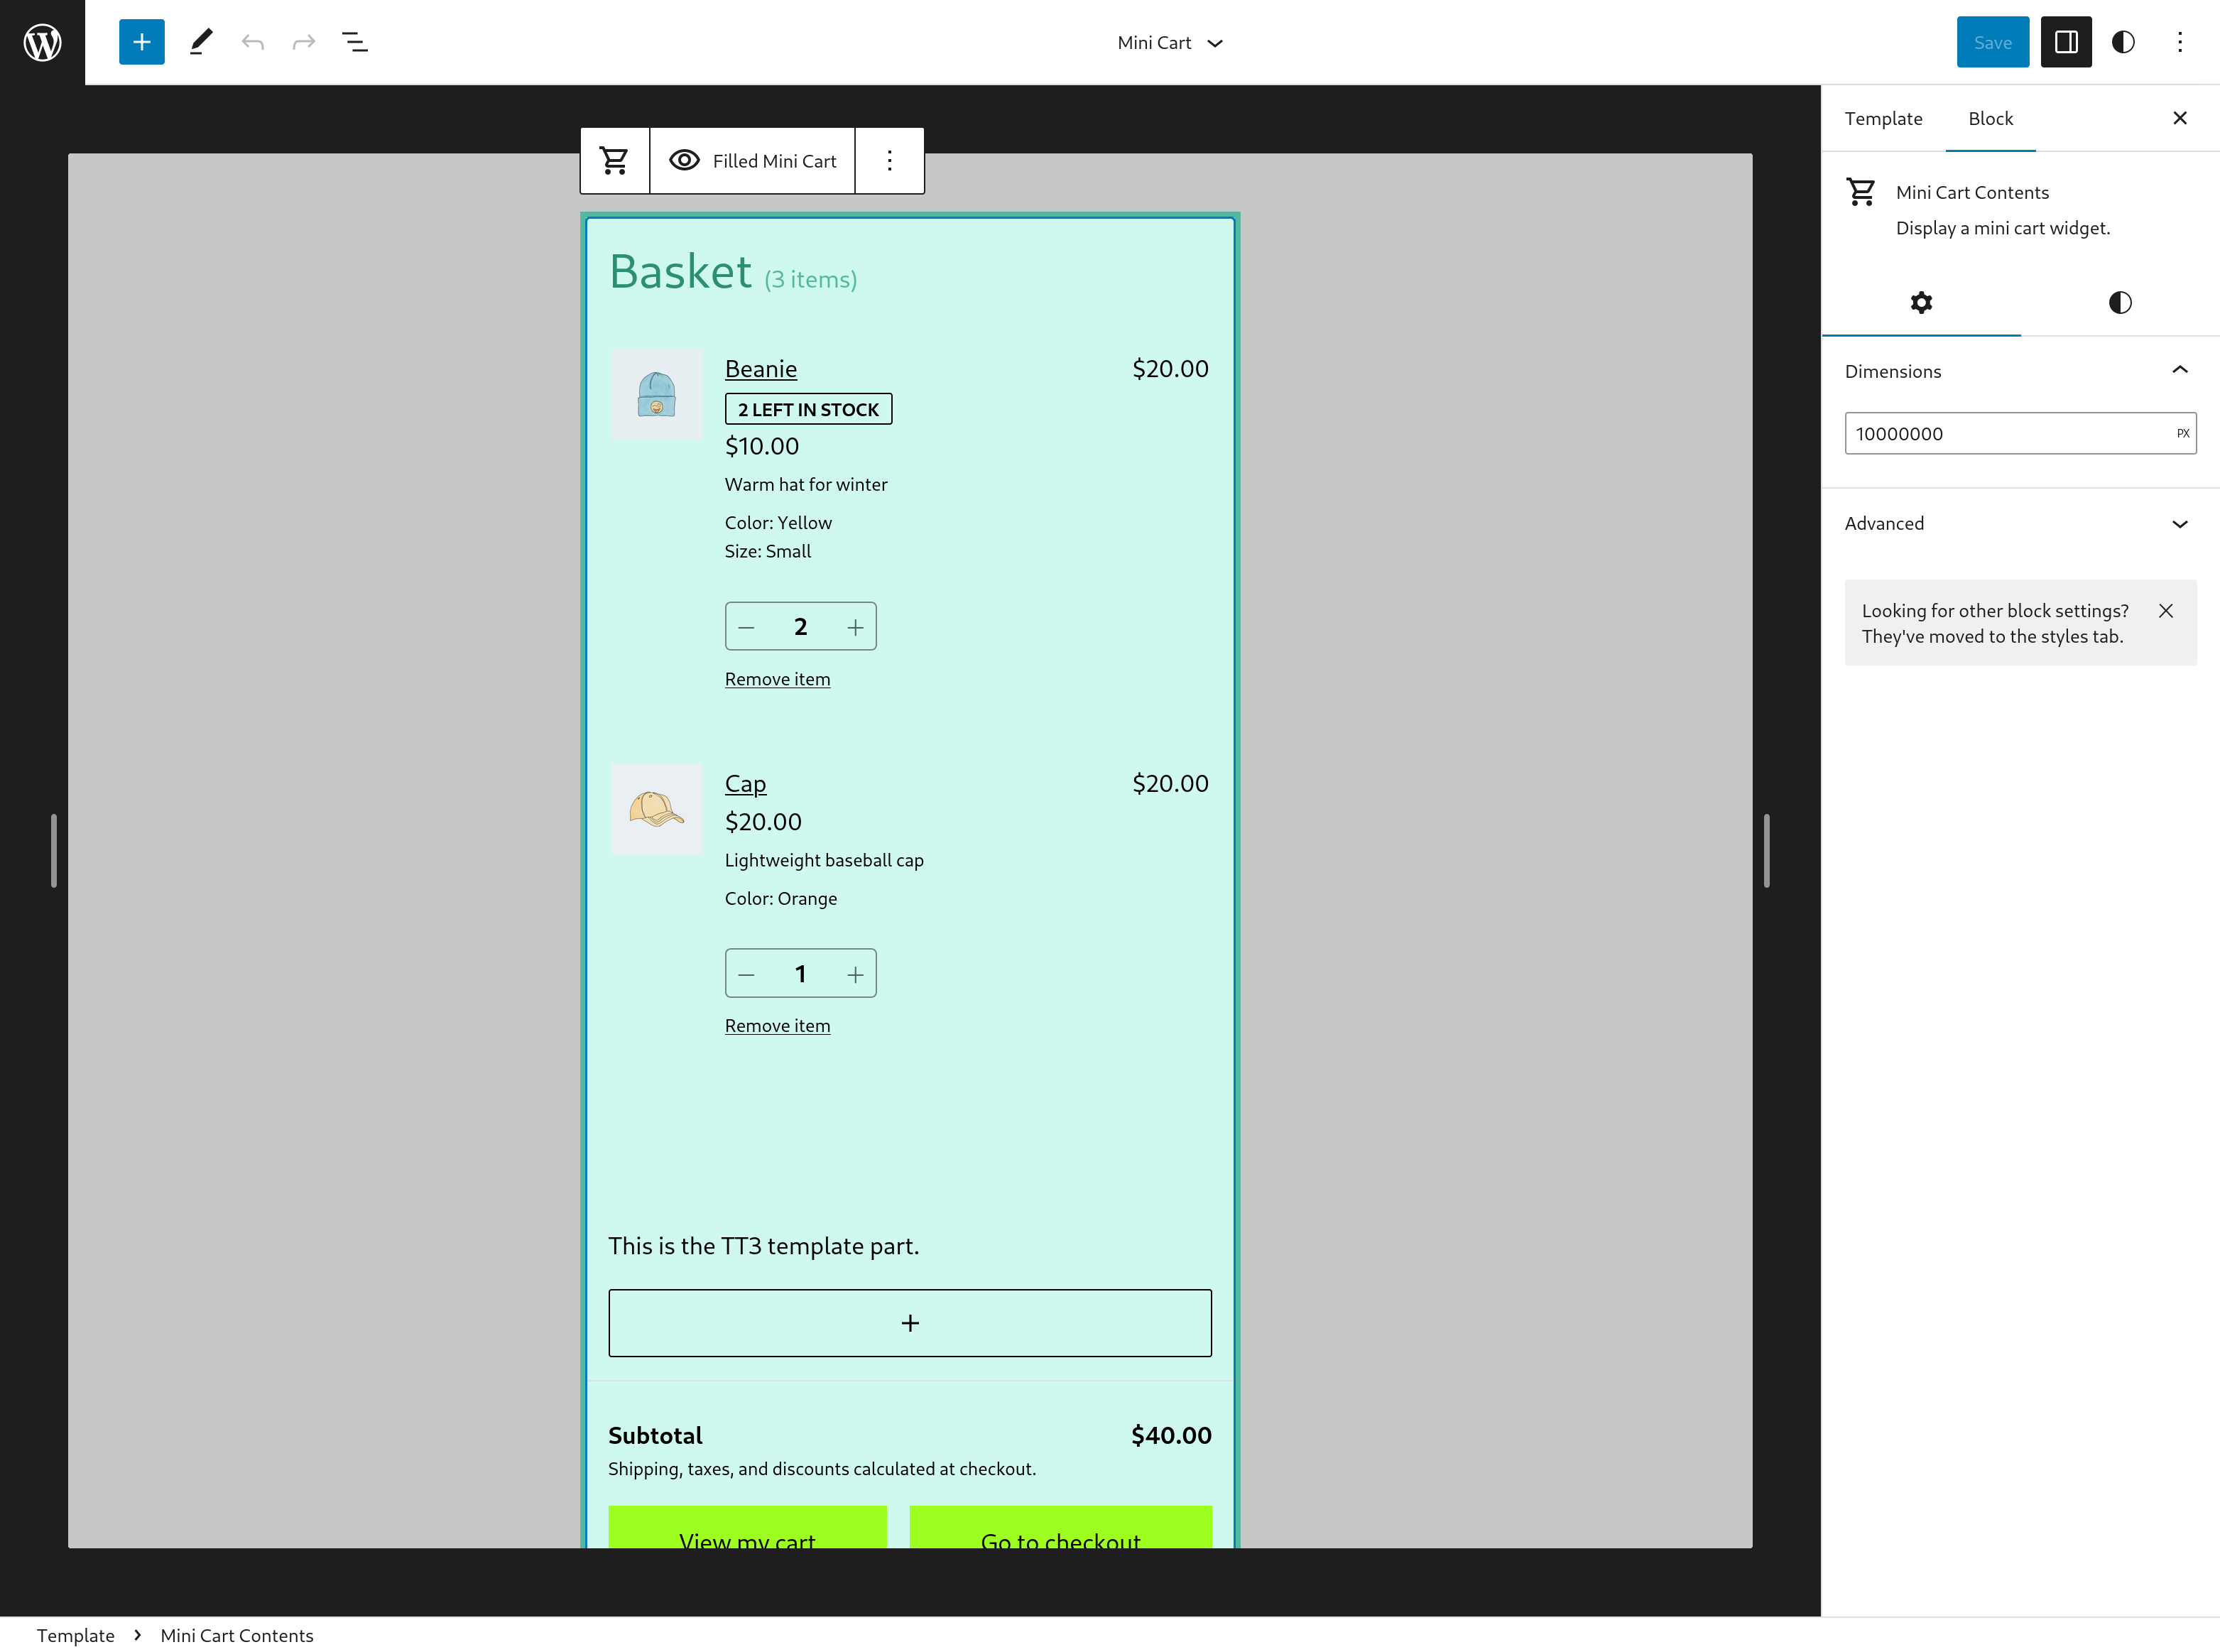
### Mini Cart Contents block: fix wide width not being applied in the editor [#9201](https://github.com/woocommerce/woocommerce-blocks/pull/9201)
1. Go to the `Editor`, open the `Header template`, and insert the `Mini Cart` block.
2. Go to the `Editor` > `Template parts` and open the `Mini Cart` template.
3. Open the `List View` and click on the `Mini Cart Contents` block.
4. On the settings sidebar change the `Dimensions` to a wider size (like `9000`) and save.
5. Verify that the change is applied and the Mini Cart Contents block occupies the entire available width.
Before | After
--- | ---
 |