|
|  |
#### User Facing Testing
1. Create a regular page (Pages > Add New) and add the All Product block to it;
2. Add the Active Filters block;
3. Add the Filter By Attribute block;
4. Select an attribute from the Filter By Attribute block and apply it;
5. When the page reloads, check if the "Clear All" button (in the Active Filters block) and the "Reset" button (in
Filter By Attribute block) have the following properties:
> Font size: 14px
> Font weight: normal
> Text decoration: underlined
6. Hover the mouse over the "Clear All" button and the "Reset" button and make sure the text decoration is changed
to `none` (no underline) while the other properties remain the same:
> Font size: 14px
> Font weight: normal
> Text decoration: none
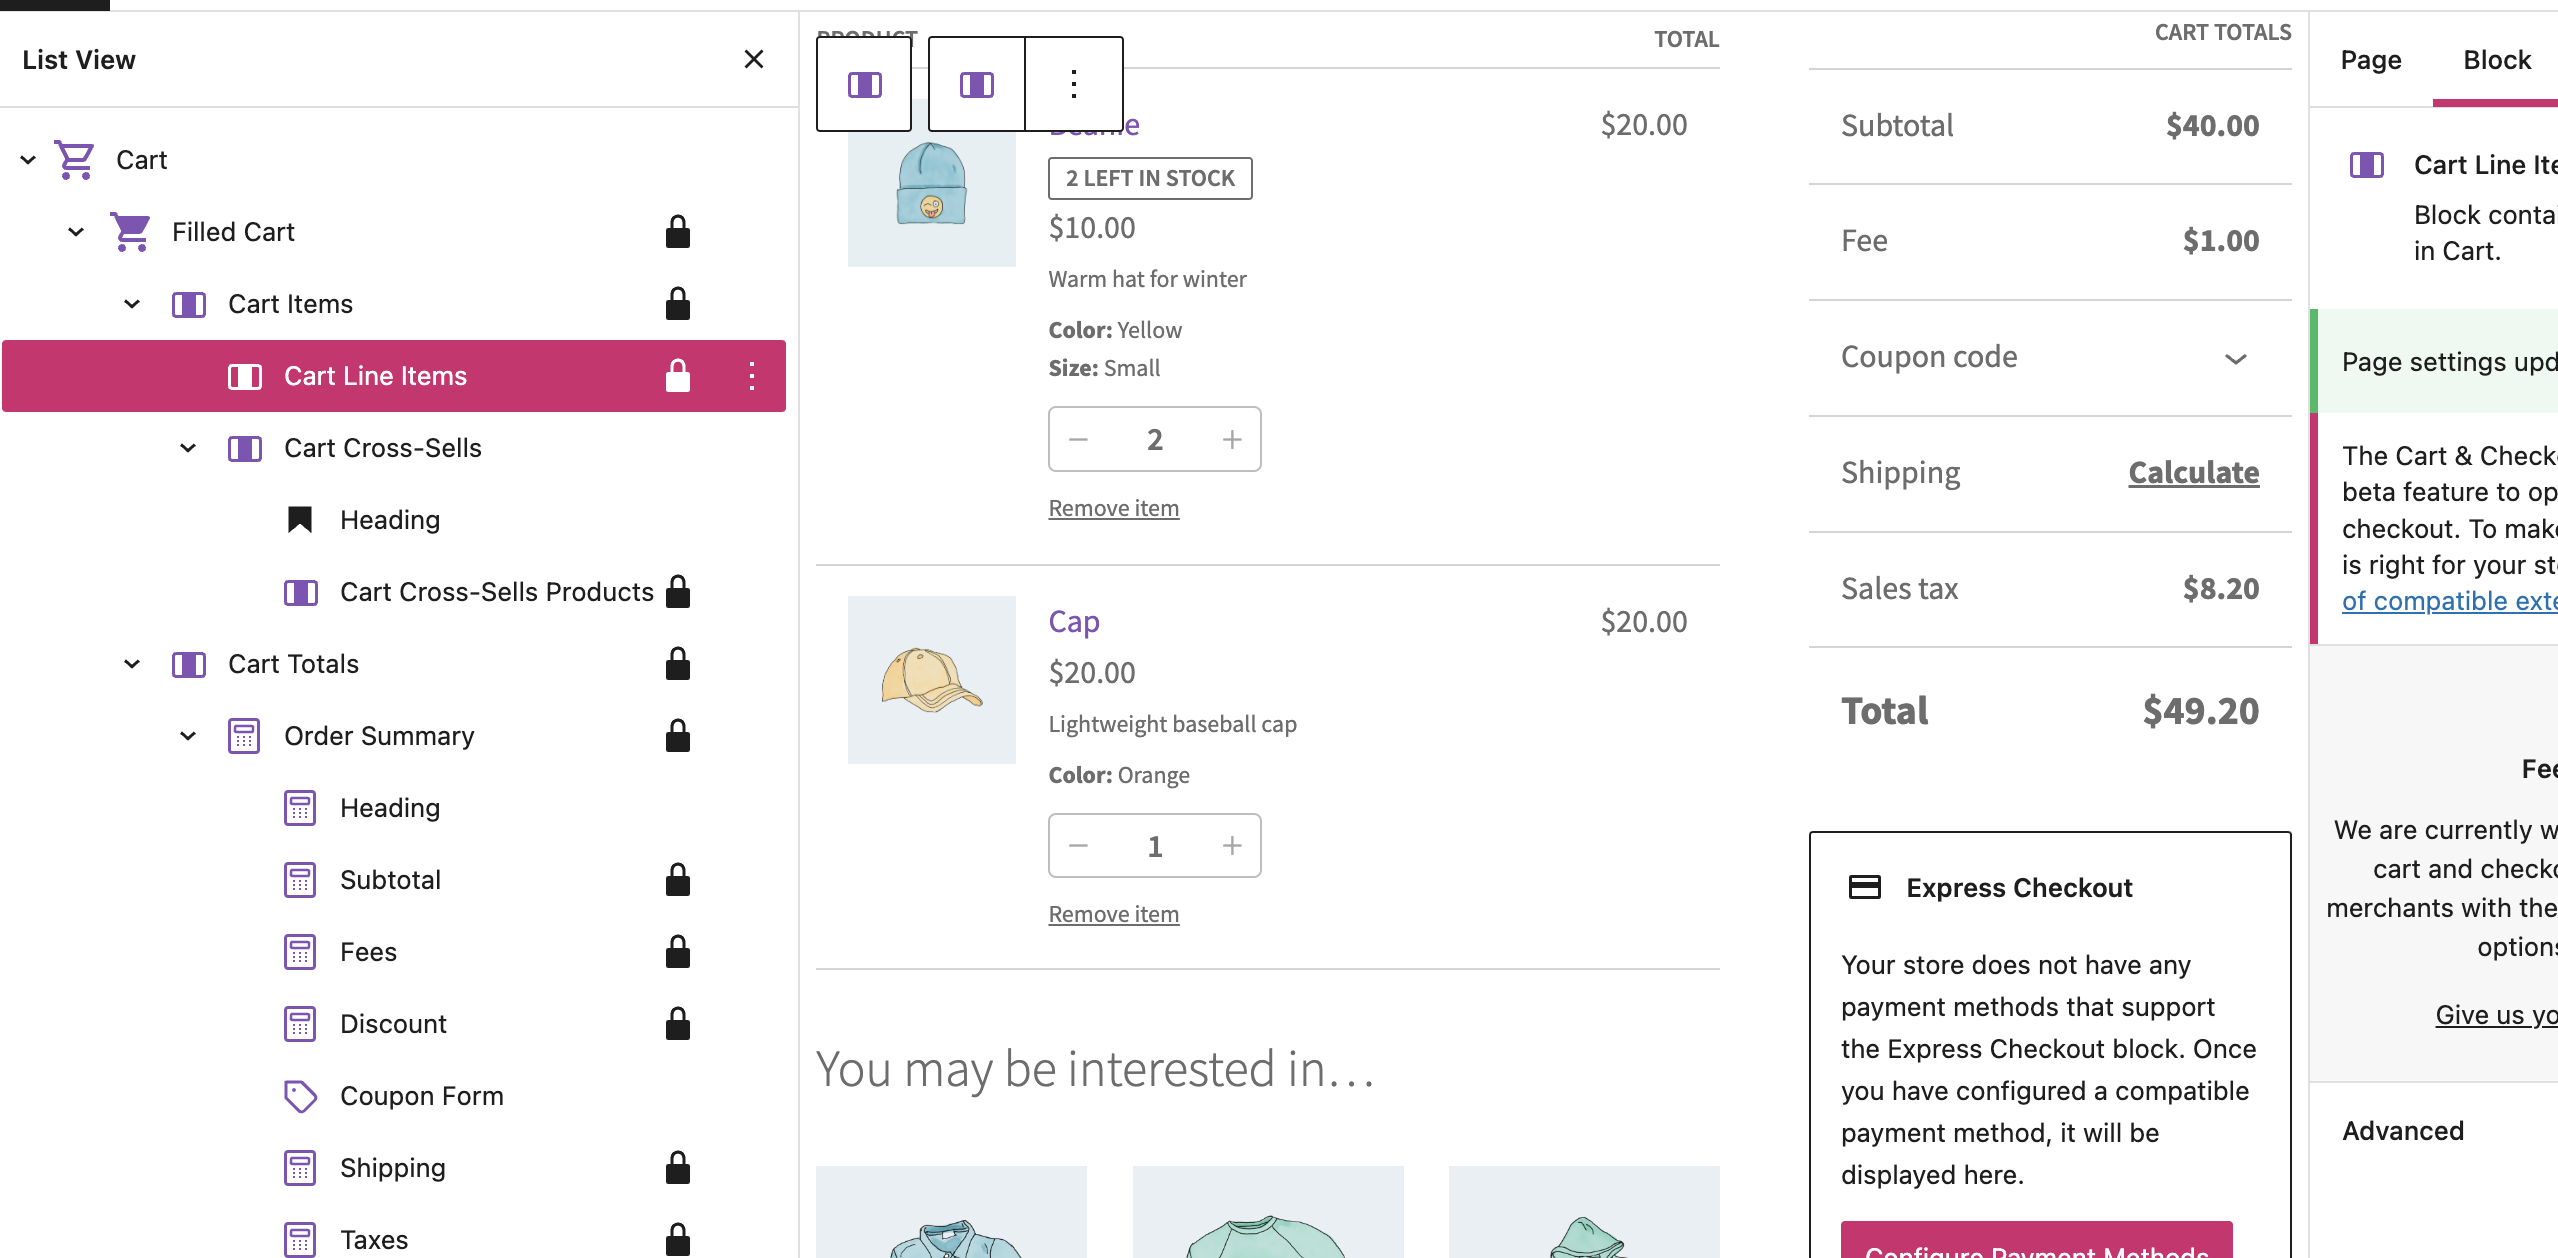
### Update the titles of some inner blocks of the Cart block and remove the lock of the Cross-Sells parent block ([7232](https://github.com/woocommerce/woocommerce-blocks/pull/7232))
#### Screenshots
|
#### User Facing Testing
1. Create a regular page (Pages > Add New) and add the All Product block to it;
2. Add the Active Filters block;
3. Add the Filter By Attribute block;
4. Select an attribute from the Filter By Attribute block and apply it;
5. When the page reloads, check if the "Clear All" button (in the Active Filters block) and the "Reset" button (in
Filter By Attribute block) have the following properties:
> Font size: 14px
> Font weight: normal
> Text decoration: underlined
6. Hover the mouse over the "Clear All" button and the "Reset" button and make sure the text decoration is changed
to `none` (no underline) while the other properties remain the same:
> Font size: 14px
> Font weight: normal
> Text decoration: none
### Update the titles of some inner blocks of the Cart block and remove the lock of the Cross-Sells parent block ([7232](https://github.com/woocommerce/woocommerce-blocks/pull/7232))
#### Screenshots
| Before:
 |
After:
 |
| 1. Create a test page and add the Checkout block to it. 2. Install and activate the [Simple Custom CSS and JS](https://wordpress.org/plugins/custom-css-js/) plugin. 3. Head over to `/wp-admin/edit.php?post_type=custom-css-js` and add the following JS code snippet: ```js const label = () => 'Pay now'; const {__experimentalRegisterCheckoutFilters} = window.wc.blocksCheckout; __experimentalRegisterCheckoutFilters('custom-place-order-button-label', { placeOrderButtonLabel: label, }); ``` 4. Head over to the frontend, add a product to the cart and open the page with the Checkout block. 5. Verify that the button label says `Pay now`. |
|
| 1. Make sure that the code snippet from the previous test is deactivated. 2. Install and activate the [Code Snippets](https://wordpress.org/plugins/code-snippets/) plugin. 3. Head over to `/wp-admin/admin.php?page=snippets` and add the following PHP code snippet: ```php add_filter( 'woocommerce_should_load_paypal_standard', '__return_true' ); ``` 4. Head over to `/wp-admin/admin.php?page=wc-settings&tab=checkout§ion=paypal` and select the options `Enable PayPal Standard` and ` Enable PayPal sandbox`. 5. Head over to the frontend, add a product to the cart and open the page with the Checkout block. 6. Select the payment method `PayPal`. 7. Verify that the button label says `Proceed to PayPal`. |

|
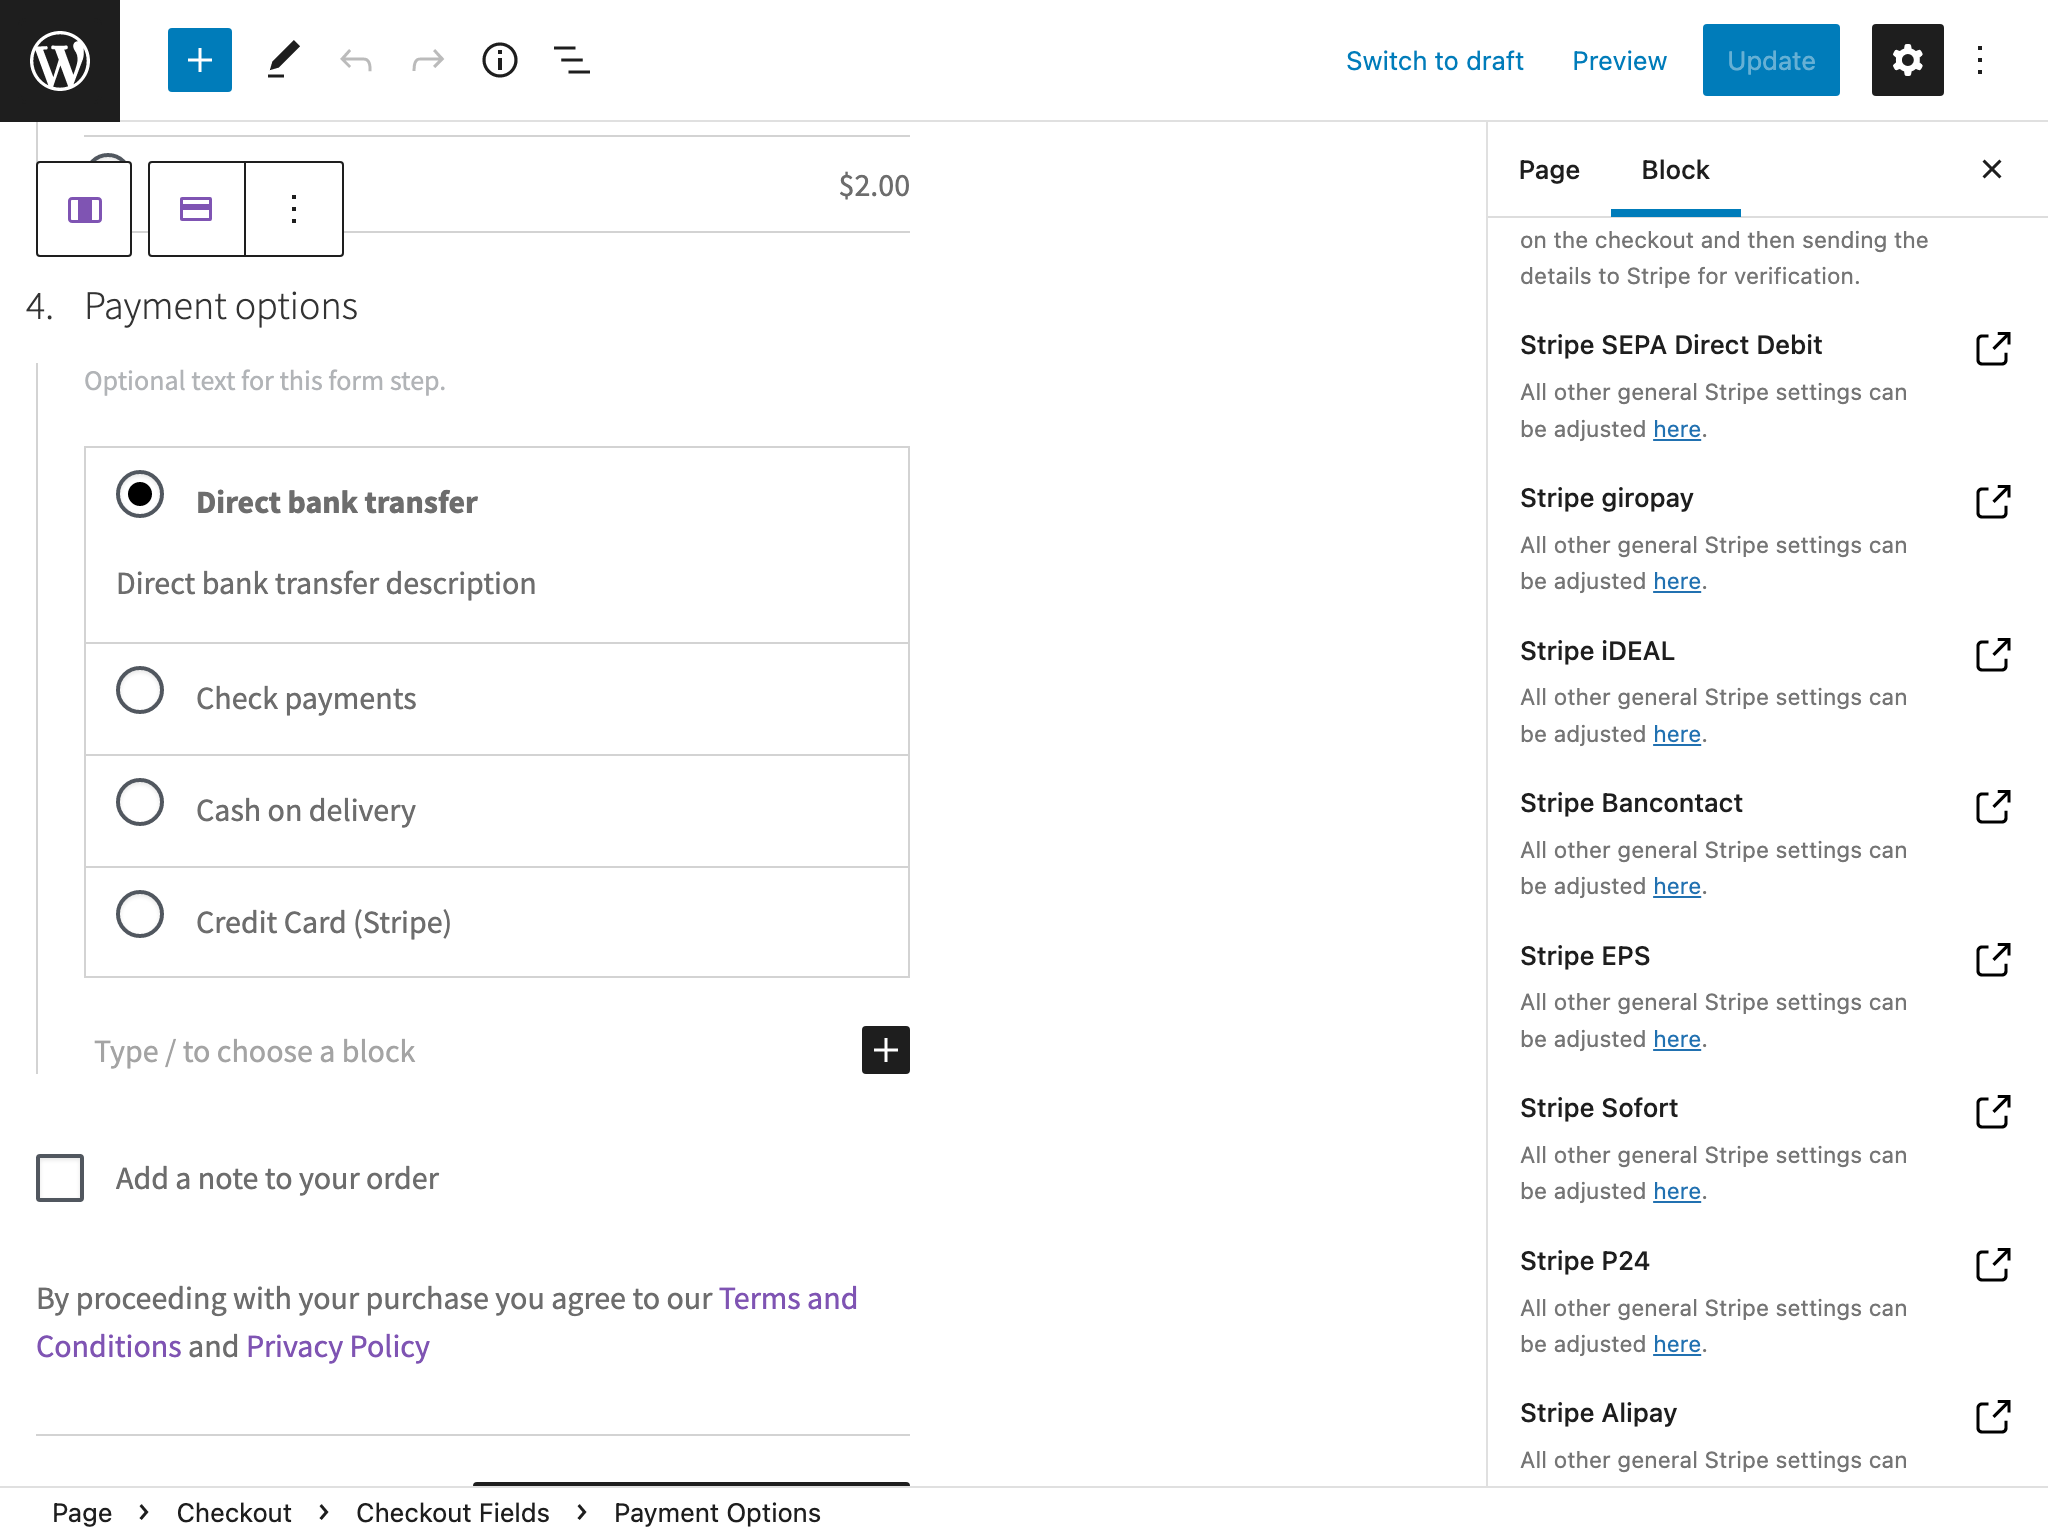
| 1. Make sure that the code snippet from the first test is still deactivated. 2. Head over to the frontend, add a product to the cart and open the page with the Checkout block. 3. Select a payment method apart from `PayPal`, e.g. `Credit Card (Stripe)`. 4. Verify that the button label says `Place Order`. |

|
| 1. Make sure that the code snippet from the first test is still deactivated. 2. Head over to `/wp-admin/options-general.php` and select `German` as the `Site Language`. 3. Head over to `/wp-admin/update-core.php?force-check=1` and fetch translations. 4. Head over to the frontend, add a product to the cart and open the page with the Checkout block. 5. Select a payment method apart from `PayPal`, e.g. `Credit Card (Stripe)`. 6. Verify that the button label says `Kostenpflichtig bestellen`. |

|
| Before:
 |
After:
 |
 |
| |
#### User Facing Testing
1. Check out branch 1287-gh-Automattic/woopay
2Update the code:
In src/Checkout/PaymentsHandler.php, comment or remove the if around the exception:
```php
// if ( empty( $customer_id ) ) {
$session_data = WooPaySession::UNSANITIZED_get_data();
$blog_checkout_url = esc_url( add_query_arg( 'skip_platform_checkout', 'true', $session_data['store_data']
['blog_checkout_url'] ) );
/* translators: %1$s opening anchor tag with url, %2$s closing anchor tag */
$error_message = __( 'we were unable to process your payment. Please %1$s go back to the merchant store %2$s and
log into WooPay again.', 'woopay' );
$open_tag = '';
$close_tag = '';
throw new InvalidSessionException(
sprintf( $error_message, $open_tag, $close_tag ),
);
// }
```
3. Get a valid checkout_session by checking out with a valid email and filling in the OTP code.
4. Place an order and see the error message
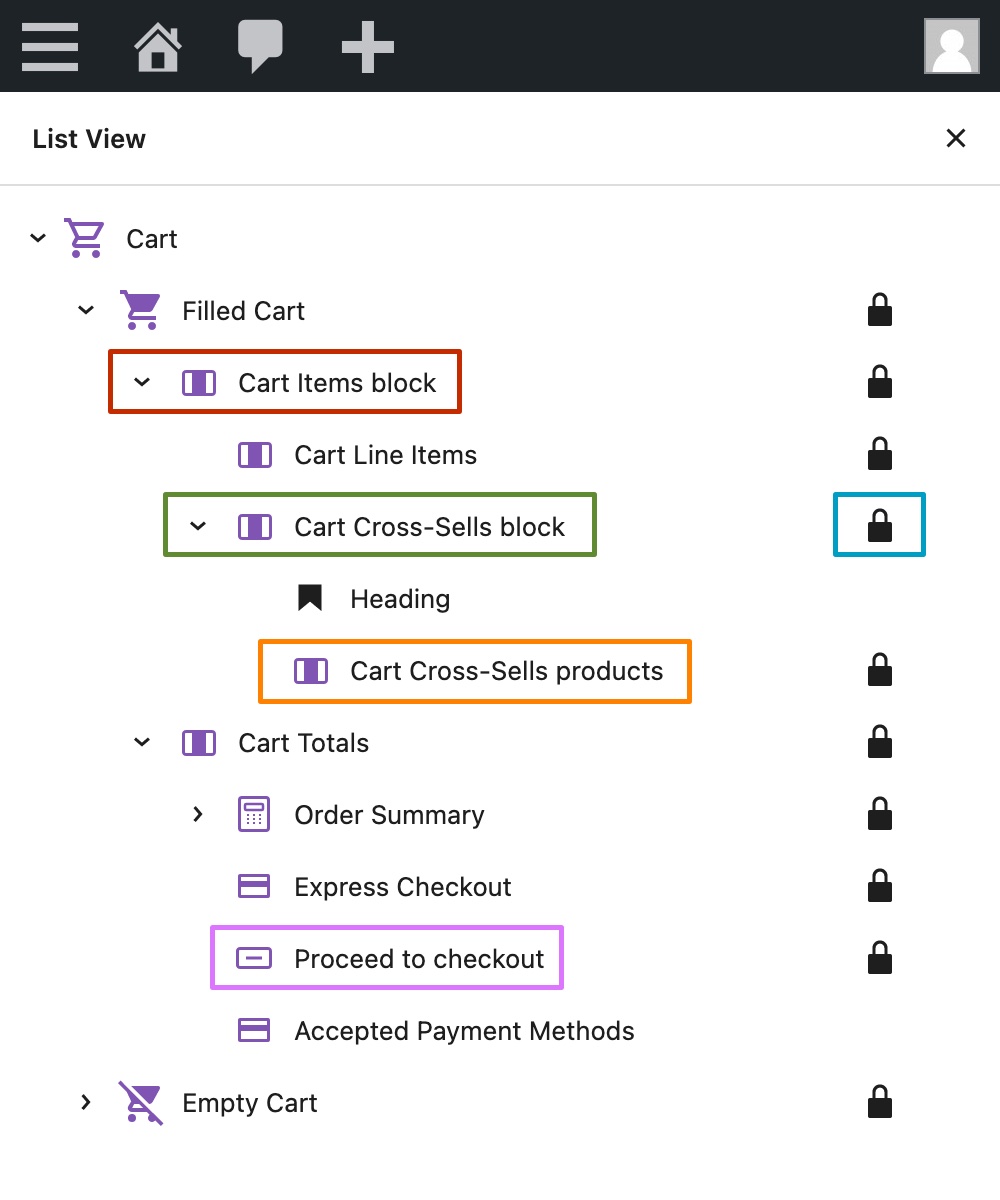
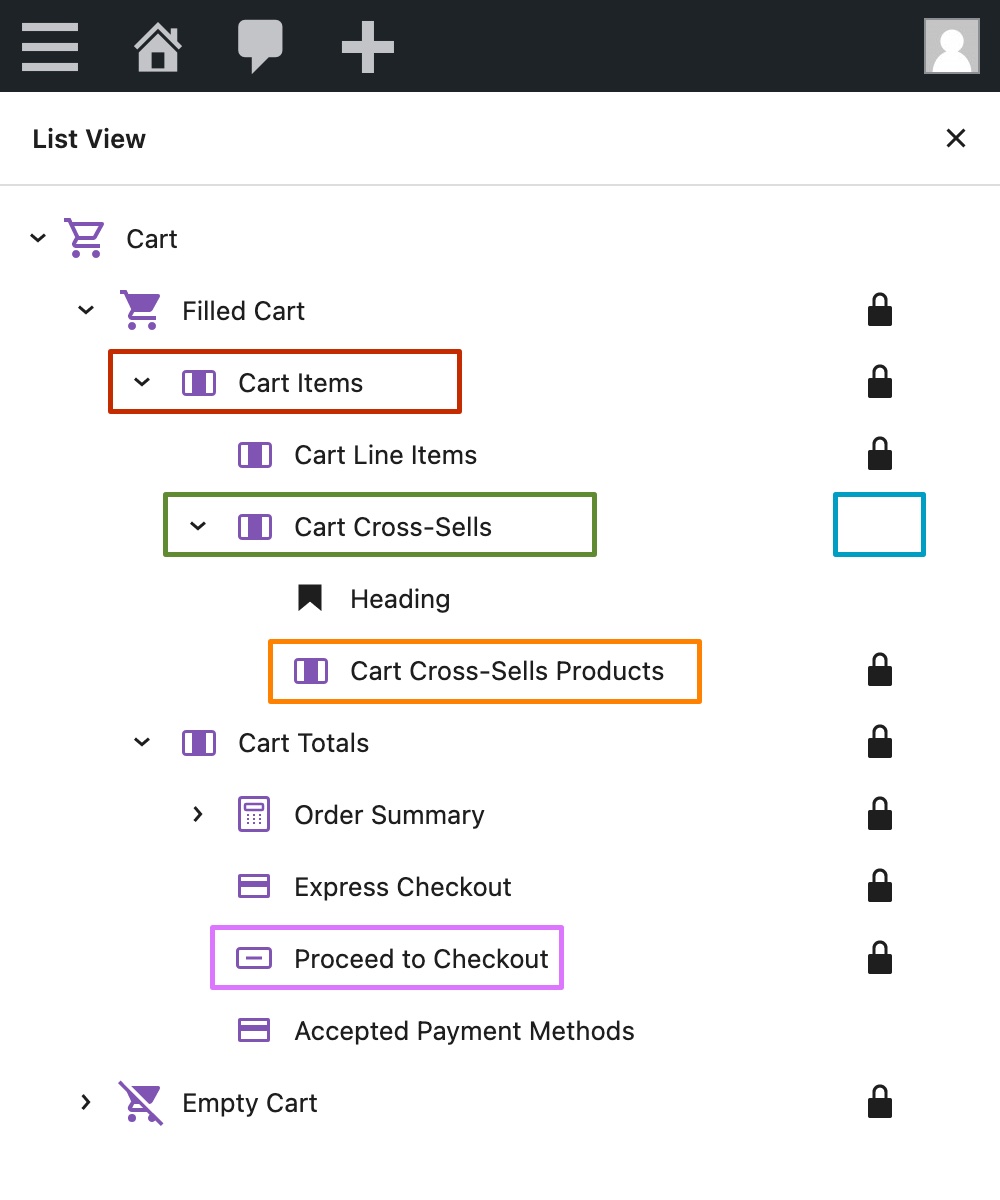
### Prevent locked inner blocks from sometimes displaying twice ([6676](https://github.com/woocommerce/woocommerce-blocks/pull/6676))
| Before | After |
| ------ | ----- |
|
|
#### User Facing Testing
1. Check out branch 1287-gh-Automattic/woopay
2Update the code:
In src/Checkout/PaymentsHandler.php, comment or remove the if around the exception:
```php
// if ( empty( $customer_id ) ) {
$session_data = WooPaySession::UNSANITIZED_get_data();
$blog_checkout_url = esc_url( add_query_arg( 'skip_platform_checkout', 'true', $session_data['store_data']
['blog_checkout_url'] ) );
/* translators: %1$s opening anchor tag with url, %2$s closing anchor tag */
$error_message = __( 'we were unable to process your payment. Please %1$s go back to the merchant store %2$s and
log into WooPay again.', 'woopay' );
$open_tag = '';
$close_tag = '';
throw new InvalidSessionException(
sprintf( $error_message, $open_tag, $close_tag ),
);
// }
```
3. Get a valid checkout_session by checking out with a valid email and filling in the OTP code.
4. Place an order and see the error message
### Prevent locked inner blocks from sometimes displaying twice ([6676](https://github.com/woocommerce/woocommerce-blocks/pull/6676))
| Before | After |
| ------ | ----- |
|  |
|  |
#### User Facing Testing
1. Install the [newsletter-test](https://github.com/woocommerce/newsletter-test) plugin to your site
2. Go to the Checkout block in your editor
3. Observe the `I want to receive updates about products and promotions.` checkbox in the customer information block. Ensure it only displays once.
4. Save the page and ensure the newsletter signup block is still only shown once.
5. Visit the block on the front-end and ensure the newsletter signup block only shows once.
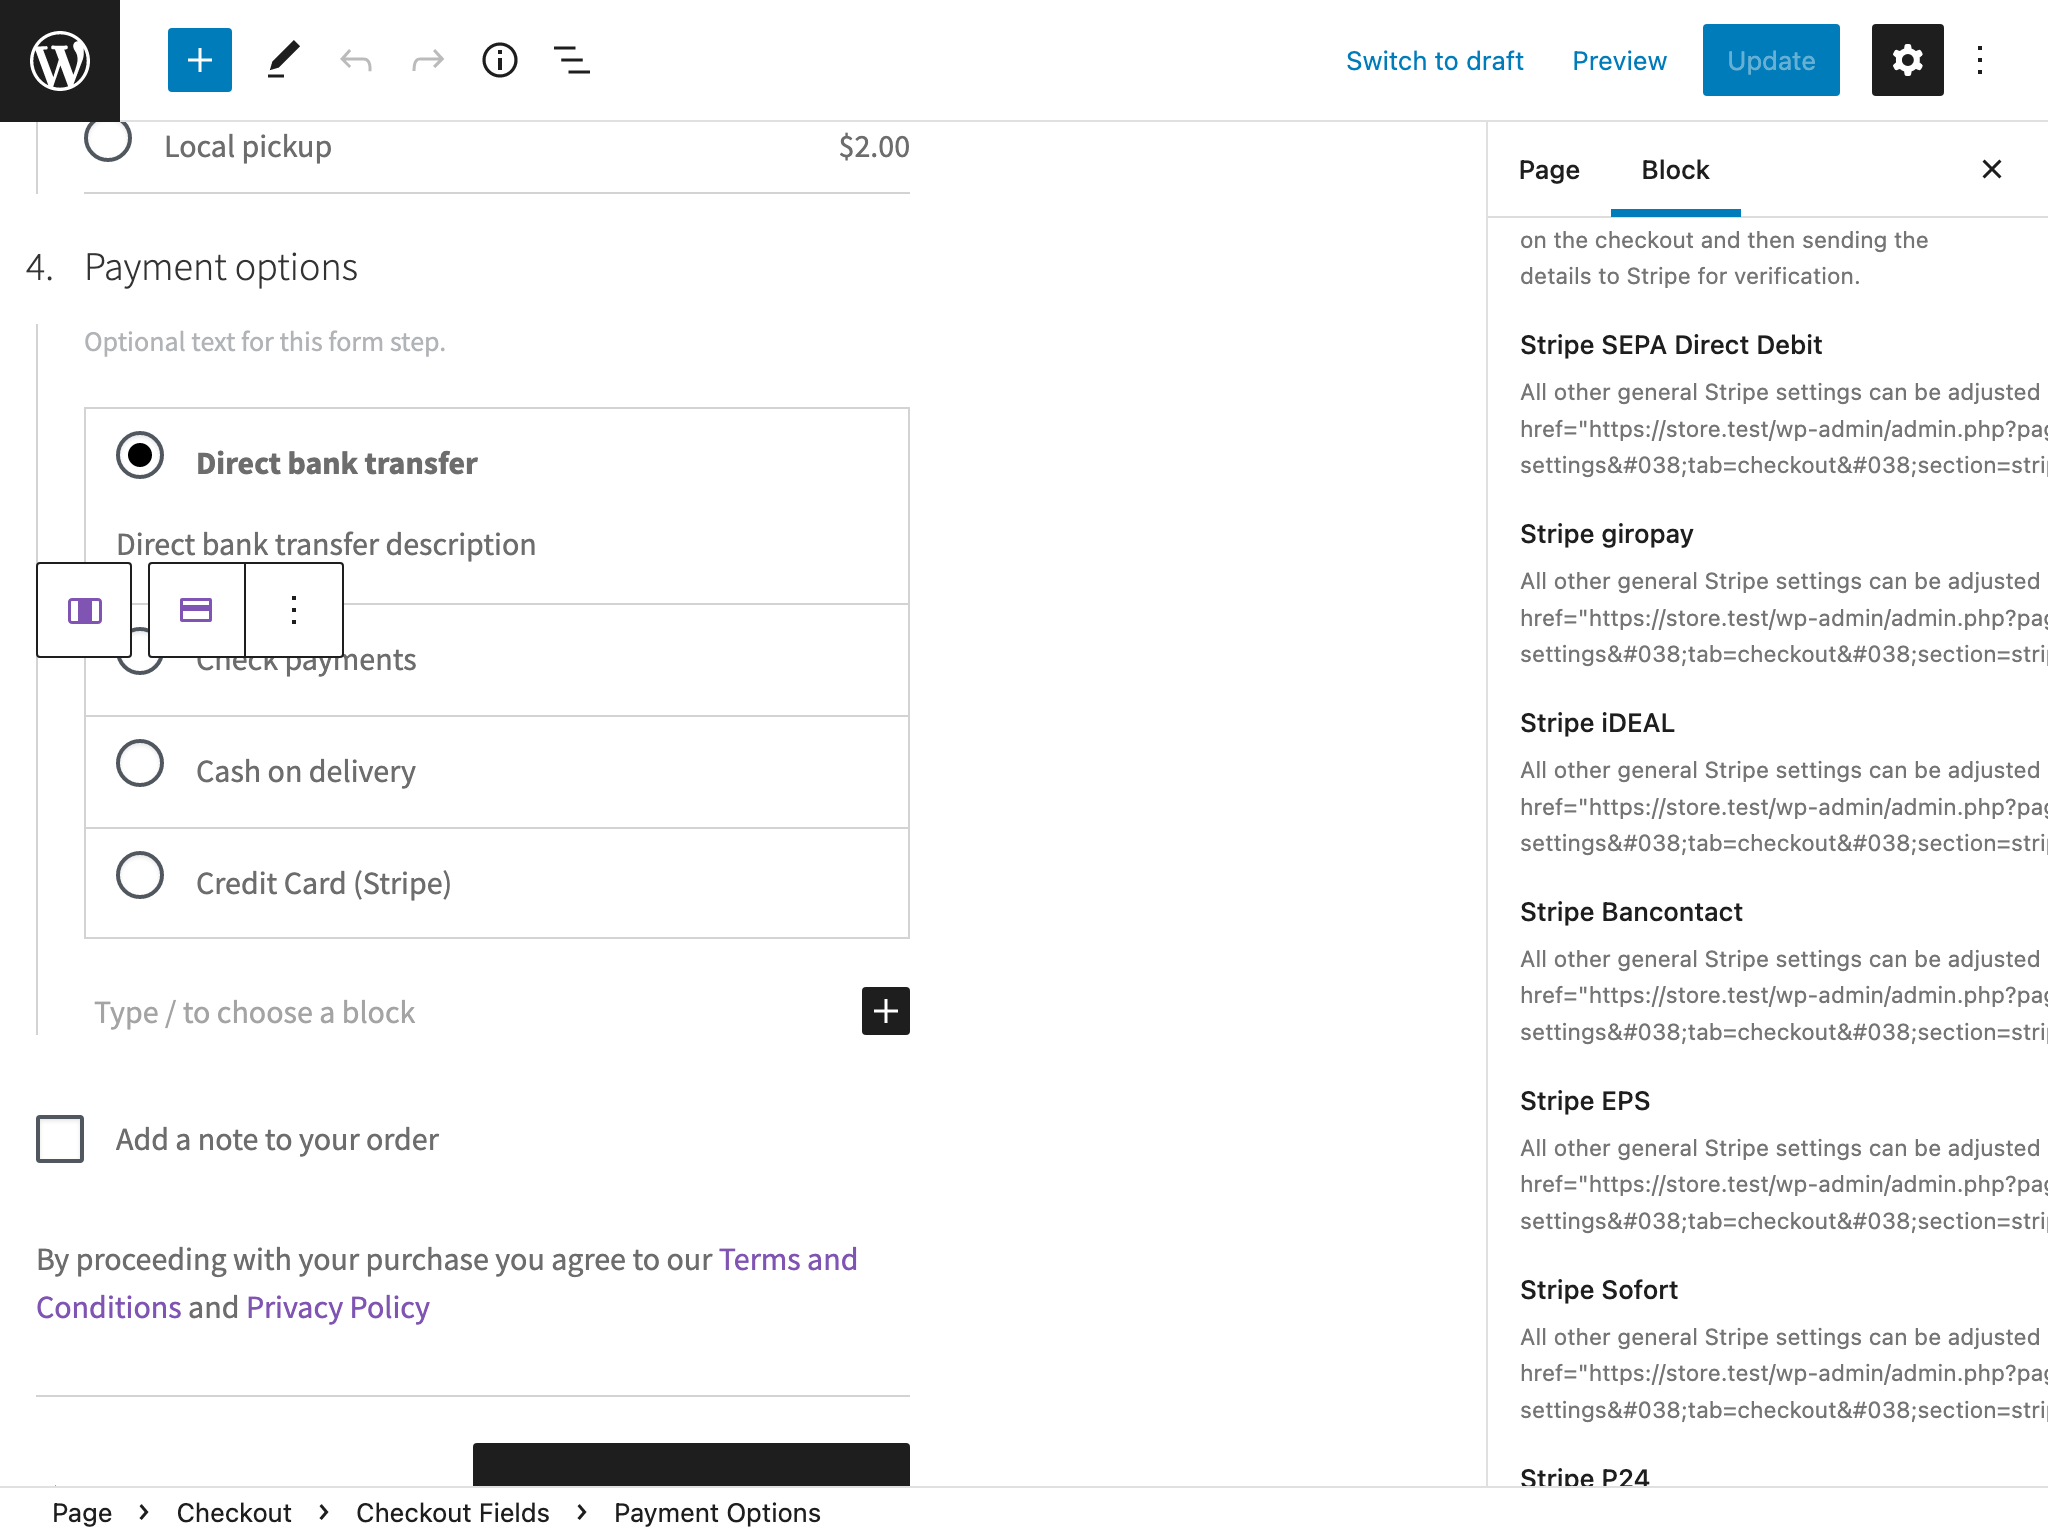
### Improve visual consistency between block links. ([7357](https://github.com/woocommerce/woocommerce-blocks/pull/7357))
| Before | After |
| ------ | ----- |
| | |
#### User Facing Testing
1. Create a regular page (Pages > Add New) and add the All Product block to it;
2. Add the Active Filters block;
3. Add the Filter By Attribute block;
4. Select an attribute from the Filter By Attribute block and apply it;
5. When the page reloads, check if the "Clear All" button (in the Active Filters block) and the "Reset" button (in Filter By Attribute block) have the following properties:
> Font size: 14px
> Font weight: normal
> Text decoration: underlined
6. Hover the mouse over the "Clear All" button and the "Reset" button and make sure the text decoration is changed to `none` (no underline) while the other properties remain the same:
> Font size: 14px
> Font weight: normal
> Text decoration: none
### Fix a problem that causes an infinite loop when inserting Cart block in wordpress.com ([7367](https://github.com/woocommerce/woocommerce-blocks/pull/7367))
#### User Facing Testing
1. Get a zip of this plugin (from below) and upload it to a wordpress.com website.
2. Go to the editor and try to insert Cart, it should work.
3. Make sure no block is missing.
|
#### User Facing Testing
1. Install the [newsletter-test](https://github.com/woocommerce/newsletter-test) plugin to your site
2. Go to the Checkout block in your editor
3. Observe the `I want to receive updates about products and promotions.` checkbox in the customer information block. Ensure it only displays once.
4. Save the page and ensure the newsletter signup block is still only shown once.
5. Visit the block on the front-end and ensure the newsletter signup block only shows once.
### Improve visual consistency between block links. ([7357](https://github.com/woocommerce/woocommerce-blocks/pull/7357))
| Before | After |
| ------ | ----- |
| | |
#### User Facing Testing
1. Create a regular page (Pages > Add New) and add the All Product block to it;
2. Add the Active Filters block;
3. Add the Filter By Attribute block;
4. Select an attribute from the Filter By Attribute block and apply it;
5. When the page reloads, check if the "Clear All" button (in the Active Filters block) and the "Reset" button (in Filter By Attribute block) have the following properties:
> Font size: 14px
> Font weight: normal
> Text decoration: underlined
6. Hover the mouse over the "Clear All" button and the "Reset" button and make sure the text decoration is changed to `none` (no underline) while the other properties remain the same:
> Font size: 14px
> Font weight: normal
> Text decoration: none
### Fix a problem that causes an infinite loop when inserting Cart block in wordpress.com ([7367](https://github.com/woocommerce/woocommerce-blocks/pull/7367))
#### User Facing Testing
1. Get a zip of this plugin (from below) and upload it to a wordpress.com website.
2. Go to the editor and try to insert Cart, it should work.
3. Make sure no block is missing.